MSAL (Microsoft Security Authentication Library) is a client-side JavaScript library that helps developers fetch access token to access Microsoft APIs, Microsoft Graph, Third-party APIs (Google. Facebook) & User built custom APIs.
It supports Mobile, Web, and Desktop Based Applications. It works for both Microsoft Work Accounts and Personal accounts through V 2.0 Endpoint.
If you want to connect your web application to the graph, you need to set it up with App registration for your web App. Log in to your Azure Active Directory portal using your work or school account. Navigate to the Azure portal using the following address: https://manage.windowsazure.com
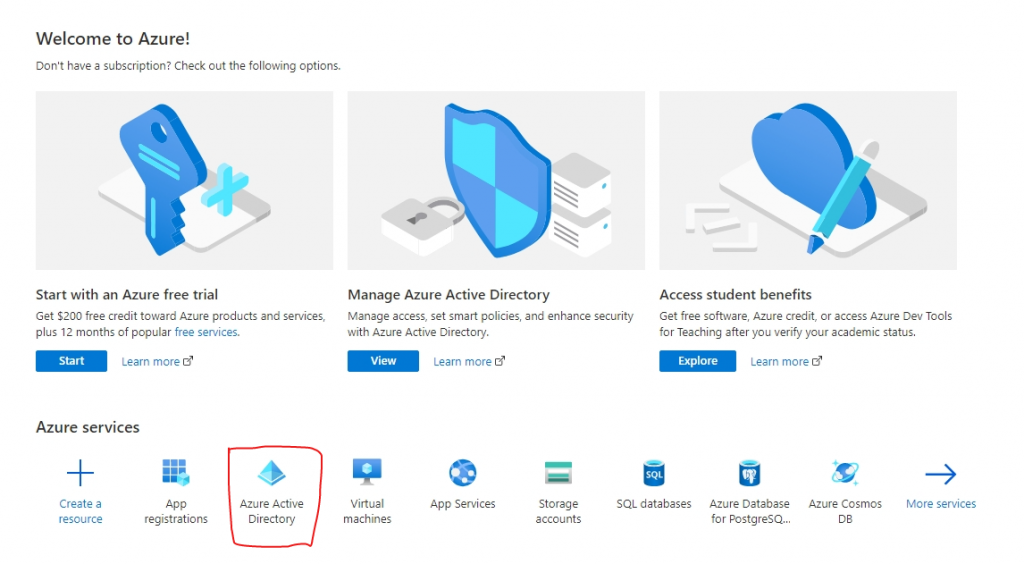
After successfully logging in, click on Azure Active Directory

Now click on App registration -> New app registration to register your web application

Provide the “Name” of your app and choose the supported account type. There are three options, you can connect using your office 365 account/Multi-tenant/Personal accounts.
I am going to connect using the single tenant option as the account type:

Finally, provide the redirect URL to validate Web/Mobile&Desktop Applications. In my case, am going to pick web for my SharePoint application.

Once you click register, you can get the unique client id/client secret for the app you registered. It requires configuring MSAL JS to validate and fetch the access token, then we are able to play with Microsoft Graph API

Note: For mobile and desktop, you can use the following redirect URL suggested below on your Azure portal.
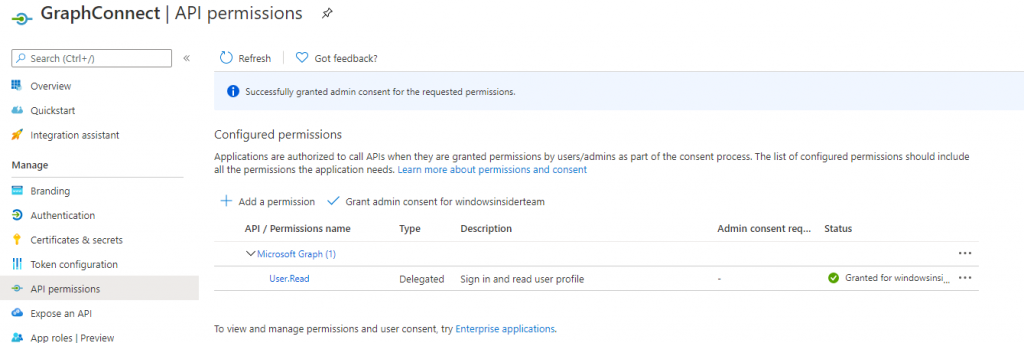
Now click on API Permissions. I can see the Graph API permission by default to read the current logged in user profile “User.Read”

Everything was fine from the configuration section. Let’s download the MSAL JS library and implement it in the SharePoint application CEWP (Content Editor)/Script editor web part
Download MSAL JS from the below link:
FROM CDN – https://secure.aadcdn.microsoftonline-p.com/lib/1.0.0/js/msal.js
Create an object to store the configuration and storage option to store the access token in local storage or session storage.
var config = {
    auth: {
        clientId: "efebd470-04a7-4b58-82b0-7132d6918e75",
        authority: "https://login.microsoftonline.com/sharepointtechie.onmicrosoft.com"
    },
    cache: {
        cacheLocation: "sessionStorage"
    }
};
authority
In the authority section, if you do not have tenant ID, please use the following URL: https://login.microsoftonline.com/common. If you have the tenant, provide the GUID of your tenant or yourdomain.microsoft.com.
clientid
It’s mandatory that you have it already from your azure portal app registration.
cacheLocation
You can store your access token in localStorage or sessionStorage.
var graphConfig = {
    graphEndPoint: "https://graph.microsoft.com/v1.0/me"
};
You can add multiple permissions as follows, for example: [“user.read”, “files.read”]
Initialize the MSAL configuration:
var myMSALObj = new Msal.UserAgentApplication(config);
Now create to function named “RetrieveAccessToken” to acquire the token based on permission scope.
acquireTokenSilent
It helps to fetch the token of the current logged in user silently. If the token expires, it sends a request and automatically refreshes the token
function RetrieveAccessToken() {

    myMSALObj.acquireTokenSilent(requestPermissionScope).then(function (result) {
 if(result != undefined){
var headers = new Headers();
    var bearer = "Bearer " + result.accessToken;
    headers.append("Authorization", bearer);
    var options = {
         method: "GET",
         headers: headers
    };

 fetch(graphConfig.graphEndPoint, options)
        .then(function(response) {
             //do something with response
             var data  = response.json()
             data.then(function(userinfo){
                console.log("resp", userinfo)
             })

        });

    }).catch(function (error) {
         console.log(error);
   });
  }
}
Full Code
function RetrieveAccessToken() {

    myMSALObj.acquireTokenSilent(requestPermissionScope).then(function (result) {
 if(result != undefined){
var headers = new Headers();
    var bearer = "Bearer " + result.accessToken;
    headers.append("Authorization", bearer);
    var options = {
         method: "GET",
         headers: headers
    };

 fetch(graphConfig.graphEndPoint, options)
        .then(function(response) {
             //do something with response

             if(response.status == 200){
                var data  = response.json();
                data.then(function(userinfo){
                    var printResponse = JSON.stringify(userinfo)
                    //Print the JSON string
                     $("#userInfo").html(printResponse)
                })
             }
        });
  }
}
Now see the browser console. In my upcoming articles, let see with permissions how to Integrate MSAL using SPFx webparts.


