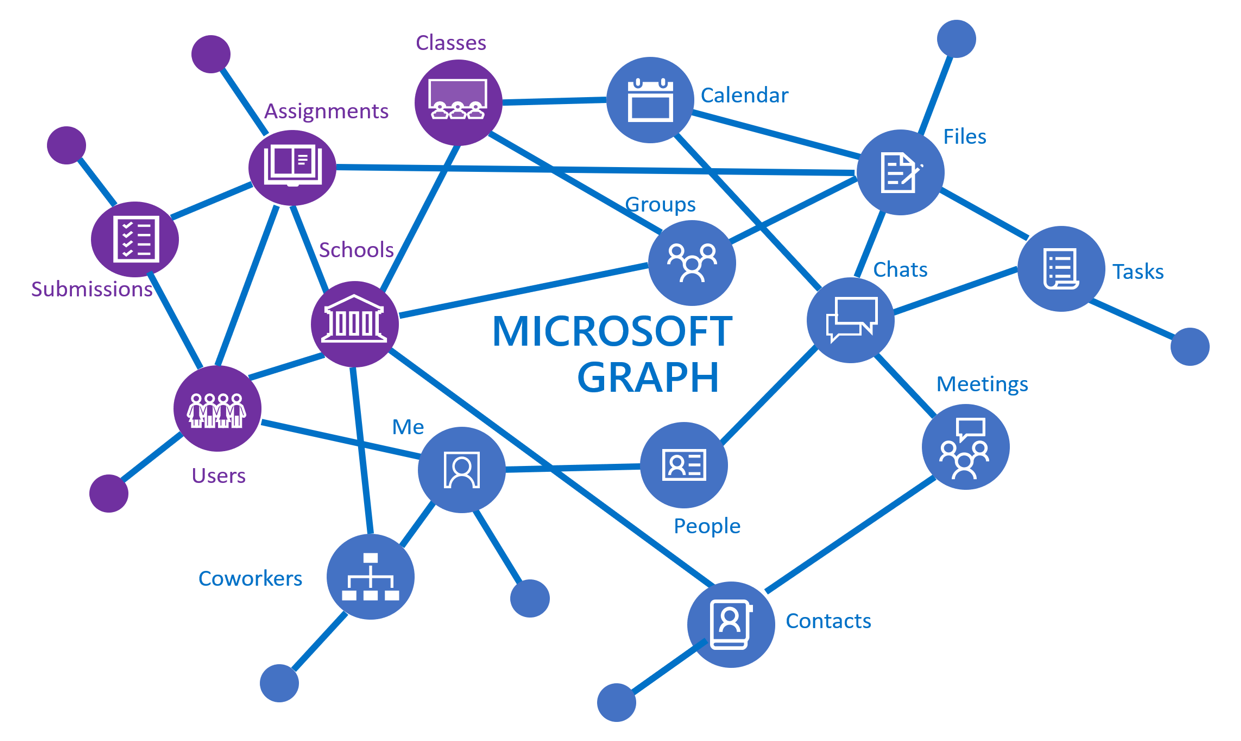
Good Moring everyone! So excited to inform you that, Microsoft Graph .Net SDK is available and it can be included in the Console Application by installing NuGet packages.
- Graph
- Graph.Beta
- Graph.Core
- Graph.Auth
Click here to learn more about Microsoft Graph SDK available for other platforms and languages.
Auth Provider Instance
For this console application, I have used Client credentials provider. The client credential flow enables service applications to run without user interaction. Access is based on the identity of the application. Click here to choose a Microsoft Graph authentication provider based on scenario.
List Groups Graph API – Get all the groups using Graph API
Permissions required
- Permission Type – Application
- Permissions – Group.Read.All, Directory.Read.All, Group.ReadWrite.All, Directory.ReadWrite.All
In this article, you will see how to perform the following tasks,
- Register an Application in Azure – Register an app in Azure AD and add the required permissions to access the Graph API
- Create and run the console application
Register an application in Azure
Register an application in Azure AD to access the Graph API.
- Navigate to Azure portal.
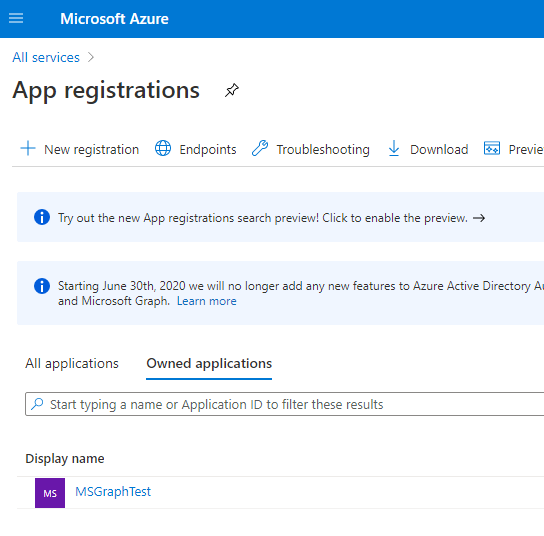
- Search for App Registrations. Click App Registrations as show below
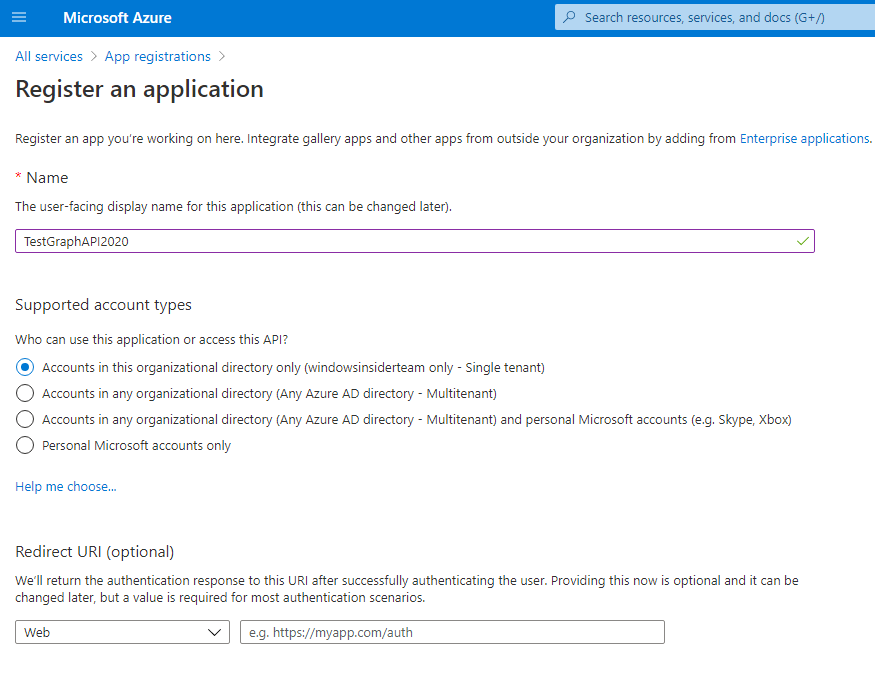
3. Click on the “New Registration”.
4. Enter the Name and click Register.
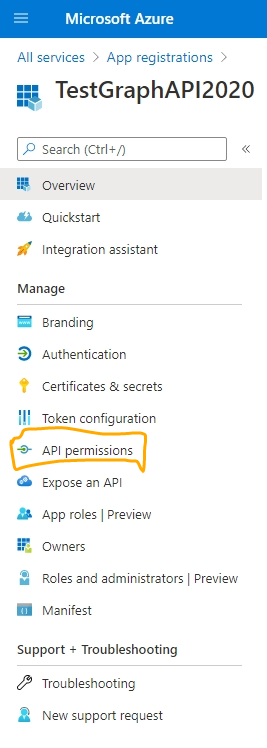
5. App registered successfully. In the left navigation, click API Permissions.
6. Click Add a permission.
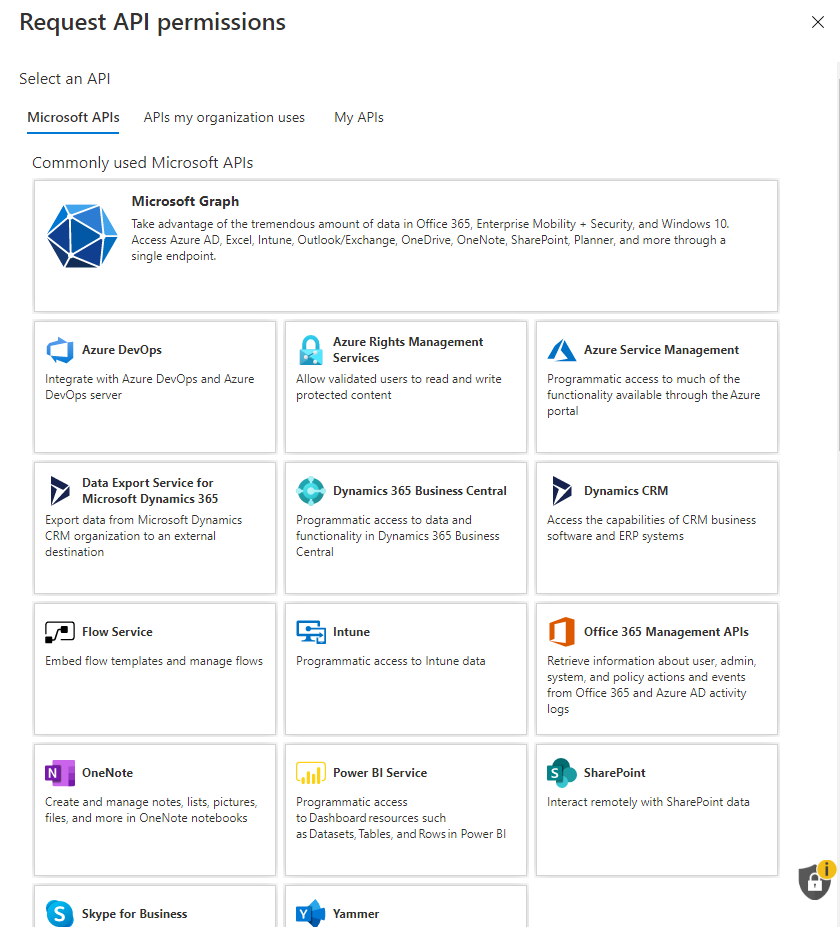
7. Select Microsoft Graph API as shown below:
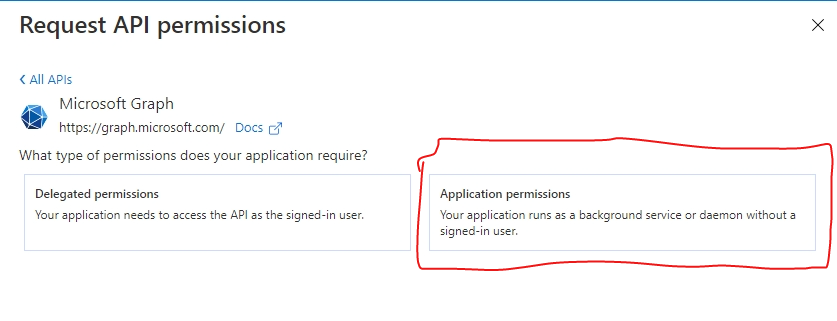
8. Click Application Permissions.
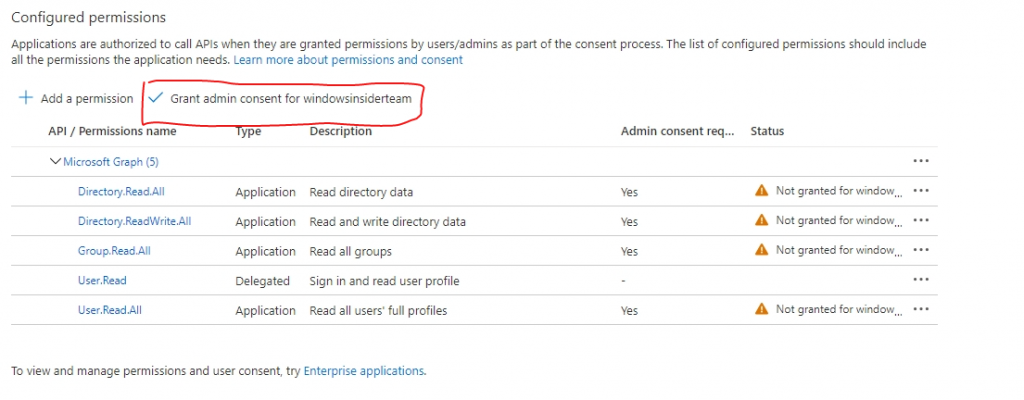
9. Select Read.All, Directory.Read.All, Group.ReadWrite.All, Directory.ReadWrite.All permission and click Add permissions.
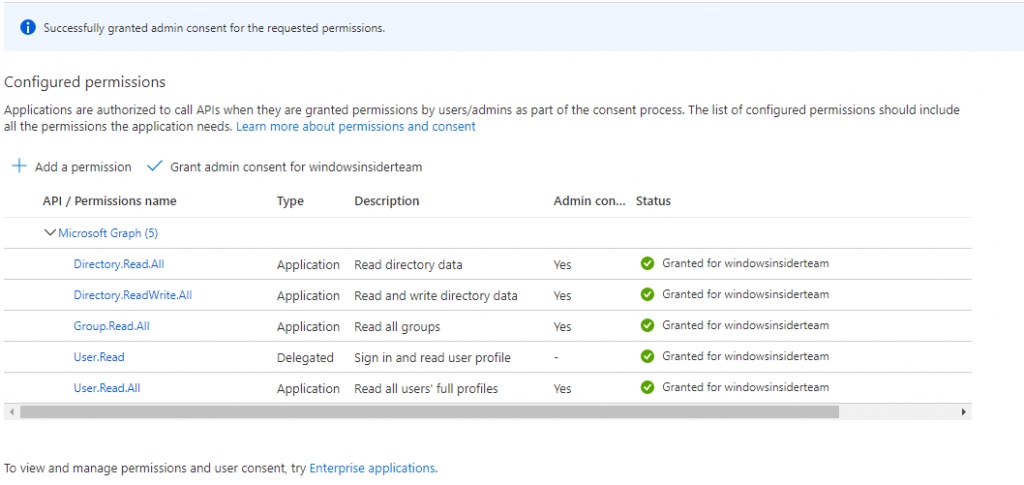
10. Click Grant admin consent
11. In the left navigation, click Overview. Copy the App (Client) ID and Directory (tenant) ID values. These values will be used in the console application for authentication.

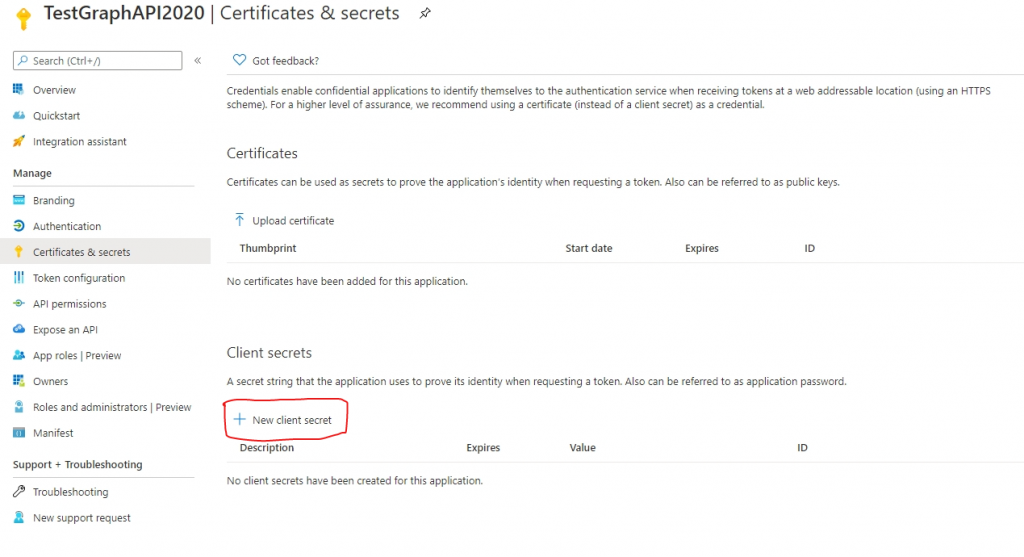
12. In the left navigation, click Certificates & Secrets. Click New Client Secret.
13. Enter the description and click Add.
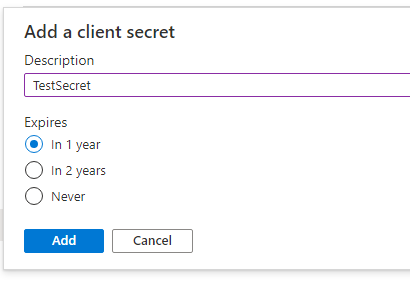
14. Copy the secret value which will be used in console application for authentication.
Create and run the Console Application
- Open Visual Studio 2019 and create a Console Application (.Net Framework).
- Install the following NuGet Packages either using Package Manager UI in Visual Studio or the Package Manager Console.
Install-Package Microsoft.Graph
Install-Package Microsoft.Graph.Auth -IncludePrerelease
3. Open Program.cs and add the following code:
using Microsoft.Graph;
using Microsoft.Graph.Auth;
using Microsoft.Identity.Client;
using System;
using System.Collections.Generic;
using System.Linq;
using System.Text;
using System.Threading.Tasks;

namespace GraphAPIConsole
{
    class Program
    {
        static void Main(string[] args)
        {
            try
            {
                getUsersAsync().GetAwaiter().GetResult();
            }
            catch (Exception ex)
            {
                Console.WriteLine(ex.Message);
            }
            Console.ReadLine();
        }

        public async static Task getUsersAsync()
        {
            var clientId = "91110348-f503-477f-acad-73fdcf2ec370";
            var tenantId = "1cb1e777-67af-48e4-88cb-e3865bb7085b";
            var clientSecret = "b7qqTV0.0PceiCC0~5.Nr39joWbe.nOV.d";
            IConfidentialClientApplication confidentialClientApplication = ConfidentialClientApplicationBuilder
                .Create(clientId)
                .WithTenantId(tenantId)
                .WithClientSecret(clientSecret)
                .Build();

            ClientCredentialProvider authProvider = new ClientCredentialProvider(confidentialClientApplication);
            GraphServiceClient graphClient = new GraphServiceClient(authProvider);

            var groups = await graphClient.Groups.Request().Select(x => new { x.Id, x.DisplayName }).GetAsync();
            foreach (var group in groups)
            {
                Console.WriteLine($"{group.DisplayName}, {group.Id}");
            }
        }
    }
}
4. Press F5 and check the console.
That’s it!