In this tutorial, I am going to build a bot using Microsoft Azure and use it in Microsoft Teams to interact with my Ruby on Rails Application. As of now, Microsoft Bot Framework supports SDK kit for Node js and C#. I will use the REST API to interact with the bot and perform operations.
First, let’s start with creating a new app on the Azure platform,
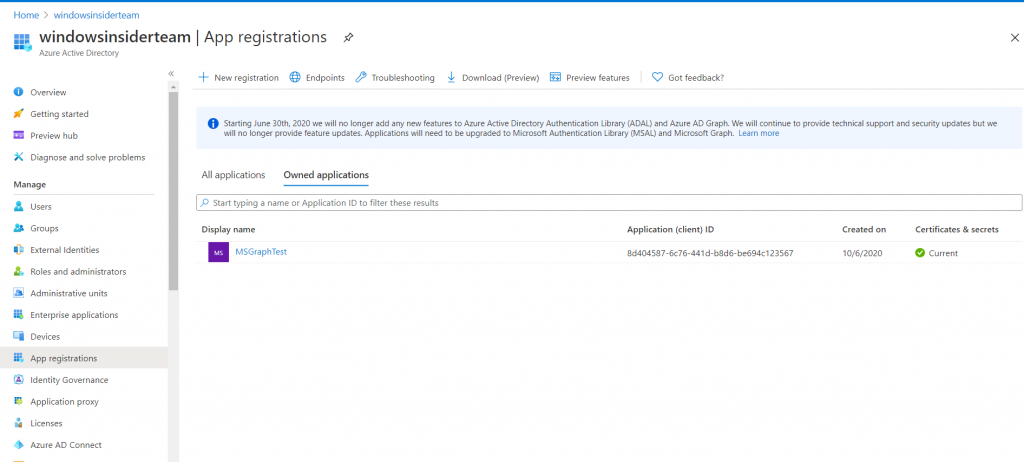
Create an App on the Azure Platform
- Log in to Azure Portal.
- To create an app, go to Azure Active Directory -> App registrations -> New Registration.
- Take a note of the App ID from the Overview section.
- Go to Certificated & secrets -> New Client secret and give a name and set expires to Never and click on Add.
- Take a note of the secret id generated as this cannot be viewed again.
So, we have built an app with which we are going to create a bot service.
Create a Bot Service
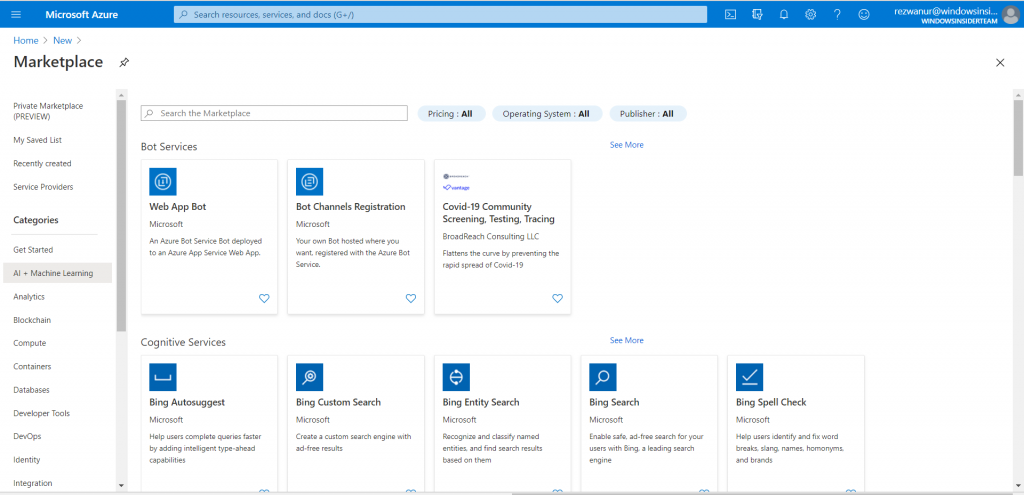
- Click Create new resource link on the upper left-hand corner of the Azure portal, then select AI + Machine Learning > Web App bot.
- Fill up the form that opens up. In the Microsoft App ID and password section, give the app id and client secret as the password.
- After creating the bot, set the messaging endpoint to your Ruby on Rails API endpoint in the setting.
- Create an OAuth Connection Settings, fill the form.
- Authorization URL: https://login.microsoftonline.com/botframework.com/oauth2/v2.0/authorize
- Token URL: https://login.microsoftonline.com/botframework.com/oauth2/v2.0/token
- Refresh URL: < YOUR REDIRECT URI >
- Scopes: < YOUR REQUIRED SCOPES >
- This OAuth Setting is required for your bot to work in MS Teams.
- Test your bot in the Test Web Chat.
REST API
Since the bot and app are now set up in the Azure platform we are ready to work with them.
User Authorization
In order to authorize the app by user, the user is needed to be signed in and authorize the app with the link below.
Bot Access Token
To request an access token to interact with the bot, use the below request. The response token is a Bearer token.
POST https://login.microsoftonline.com/botframework.com/oauth2/v2.0/token
Host: login.microsoftonline.com
Content-Type: application/x-www-form-urlencoded

grant_type=client_credentials&client_id=MICROSOFT-APP-ID&client_secret=MICROSOFT-APP-PASSWORD&scope=https://api.botframework.com/.default
Response:
{
"token_type":"Bearer",
"expires_in":3600,
"ext_expires_in":3600,
"access_token":"esadjnaskdnnaHs..."
}
Create a Conversation
After getting a token, you can create a conversation with the user. To establish a conversation, use the following request to get the conversation id.
POST < Service URL >/v3/conversations (https://smba.trafficmanager.net/in for  teams)
{
 "bot": {
   "id": "YOUR_BOT_ID",
   "name": "YOUR_BOT_NAME"
 },
 "members": [
   {
     "id": "USER_ID"
   }
 ],
 "channelData": {
   "tenant": {
     "id": "USERS_TENANT_ID"
   }
 }
}
Response:
{
"id":"a:1sdadaa.."
}
After receiving the conversation, make a POST request to the activity to send a message like below.
POST < Service URL>/v3/conversatoins/< Conversation id >/activities
{
 "bot": {
   "id": "YOUR_BOT_ID",
   "name": "YOUR_BOT_NAME"
 },
 "members": [
   {
     "id": "USER_ID"
   }
 ],
 "channelData": {
   "tenant": {
     "id": "USERS_TENANT_ID"
   }
 }
}
Reply to Conversation:
In order to reply to a conversation with the following request, get the user id, name of the bot and user from the parameters of the initial message.
POST <ServiceURL>/v3 /conversations/{conversationId}/activities/{activityId}
Authorization Bearer "eysdsda.."
{
        "type": "message",
        "from": {"id": "< BOT_USER_ID>", "name": "<BOT_USER_NAME>"},
        "conversation": {"id": "IlbyD8hQi5aGqAAz3qXfVp-5"},
        "recipient": {"id": "<Receiver_user_id", "name": "<Receiver_user_name>"},
        "text": "This is a reply message."
}
Updating a message:
In order to update a message that is already sent, make the following request. You can get the replytoID from the initial message parameters
PUT <ServiceURL>/v3 /conversations/{ReplytoID}
Authorization Bearer "eysdsda.."
{
   "type": "message",
   "text": "This message has been updated"
}
Test the bot in Teams:
In order to test your bot in teams, you are required to add the Oauth connection as stated in the create a bot service section. Then you can just copy your bot app id and start a new conversation in teams with that id. Now you are all set to check your bot in Teams.