

Creating the Safe Travel Prebuilt Agent
Follow these steps to set up and deploy the Safe Travel agent:
1. Login to Microsoft Copilot Studio from https://copilotstudio.microsoft.com
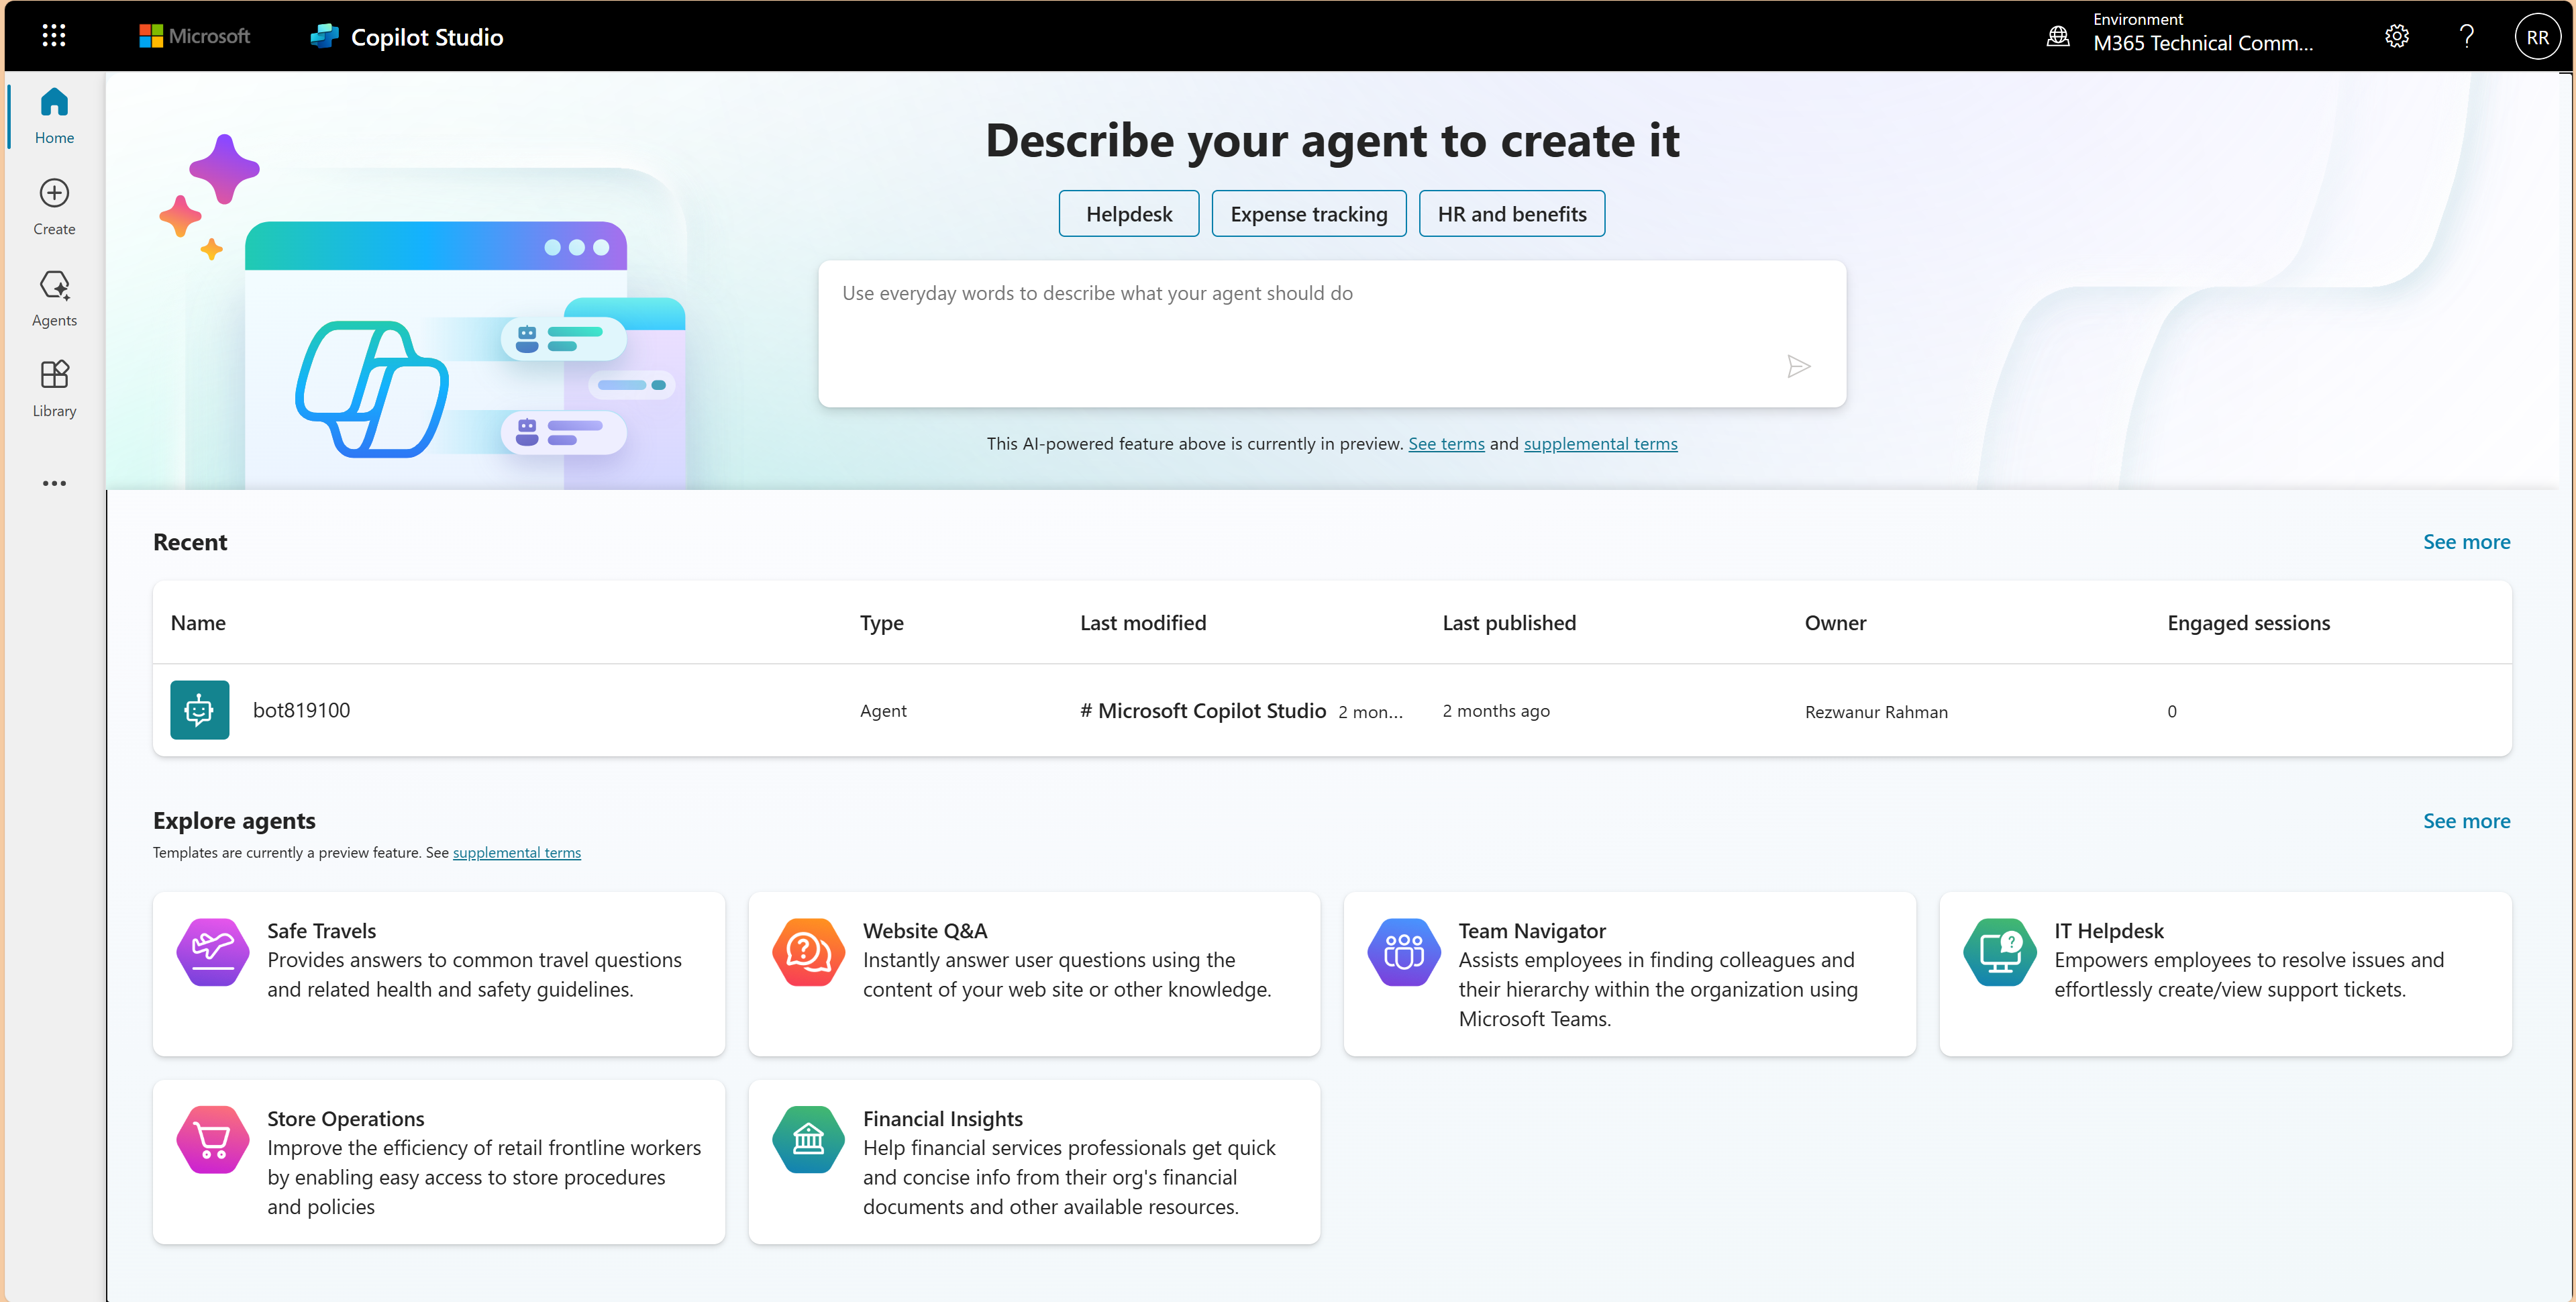
2. Click on “Create” and select “Safe Travels” under the explore agents.

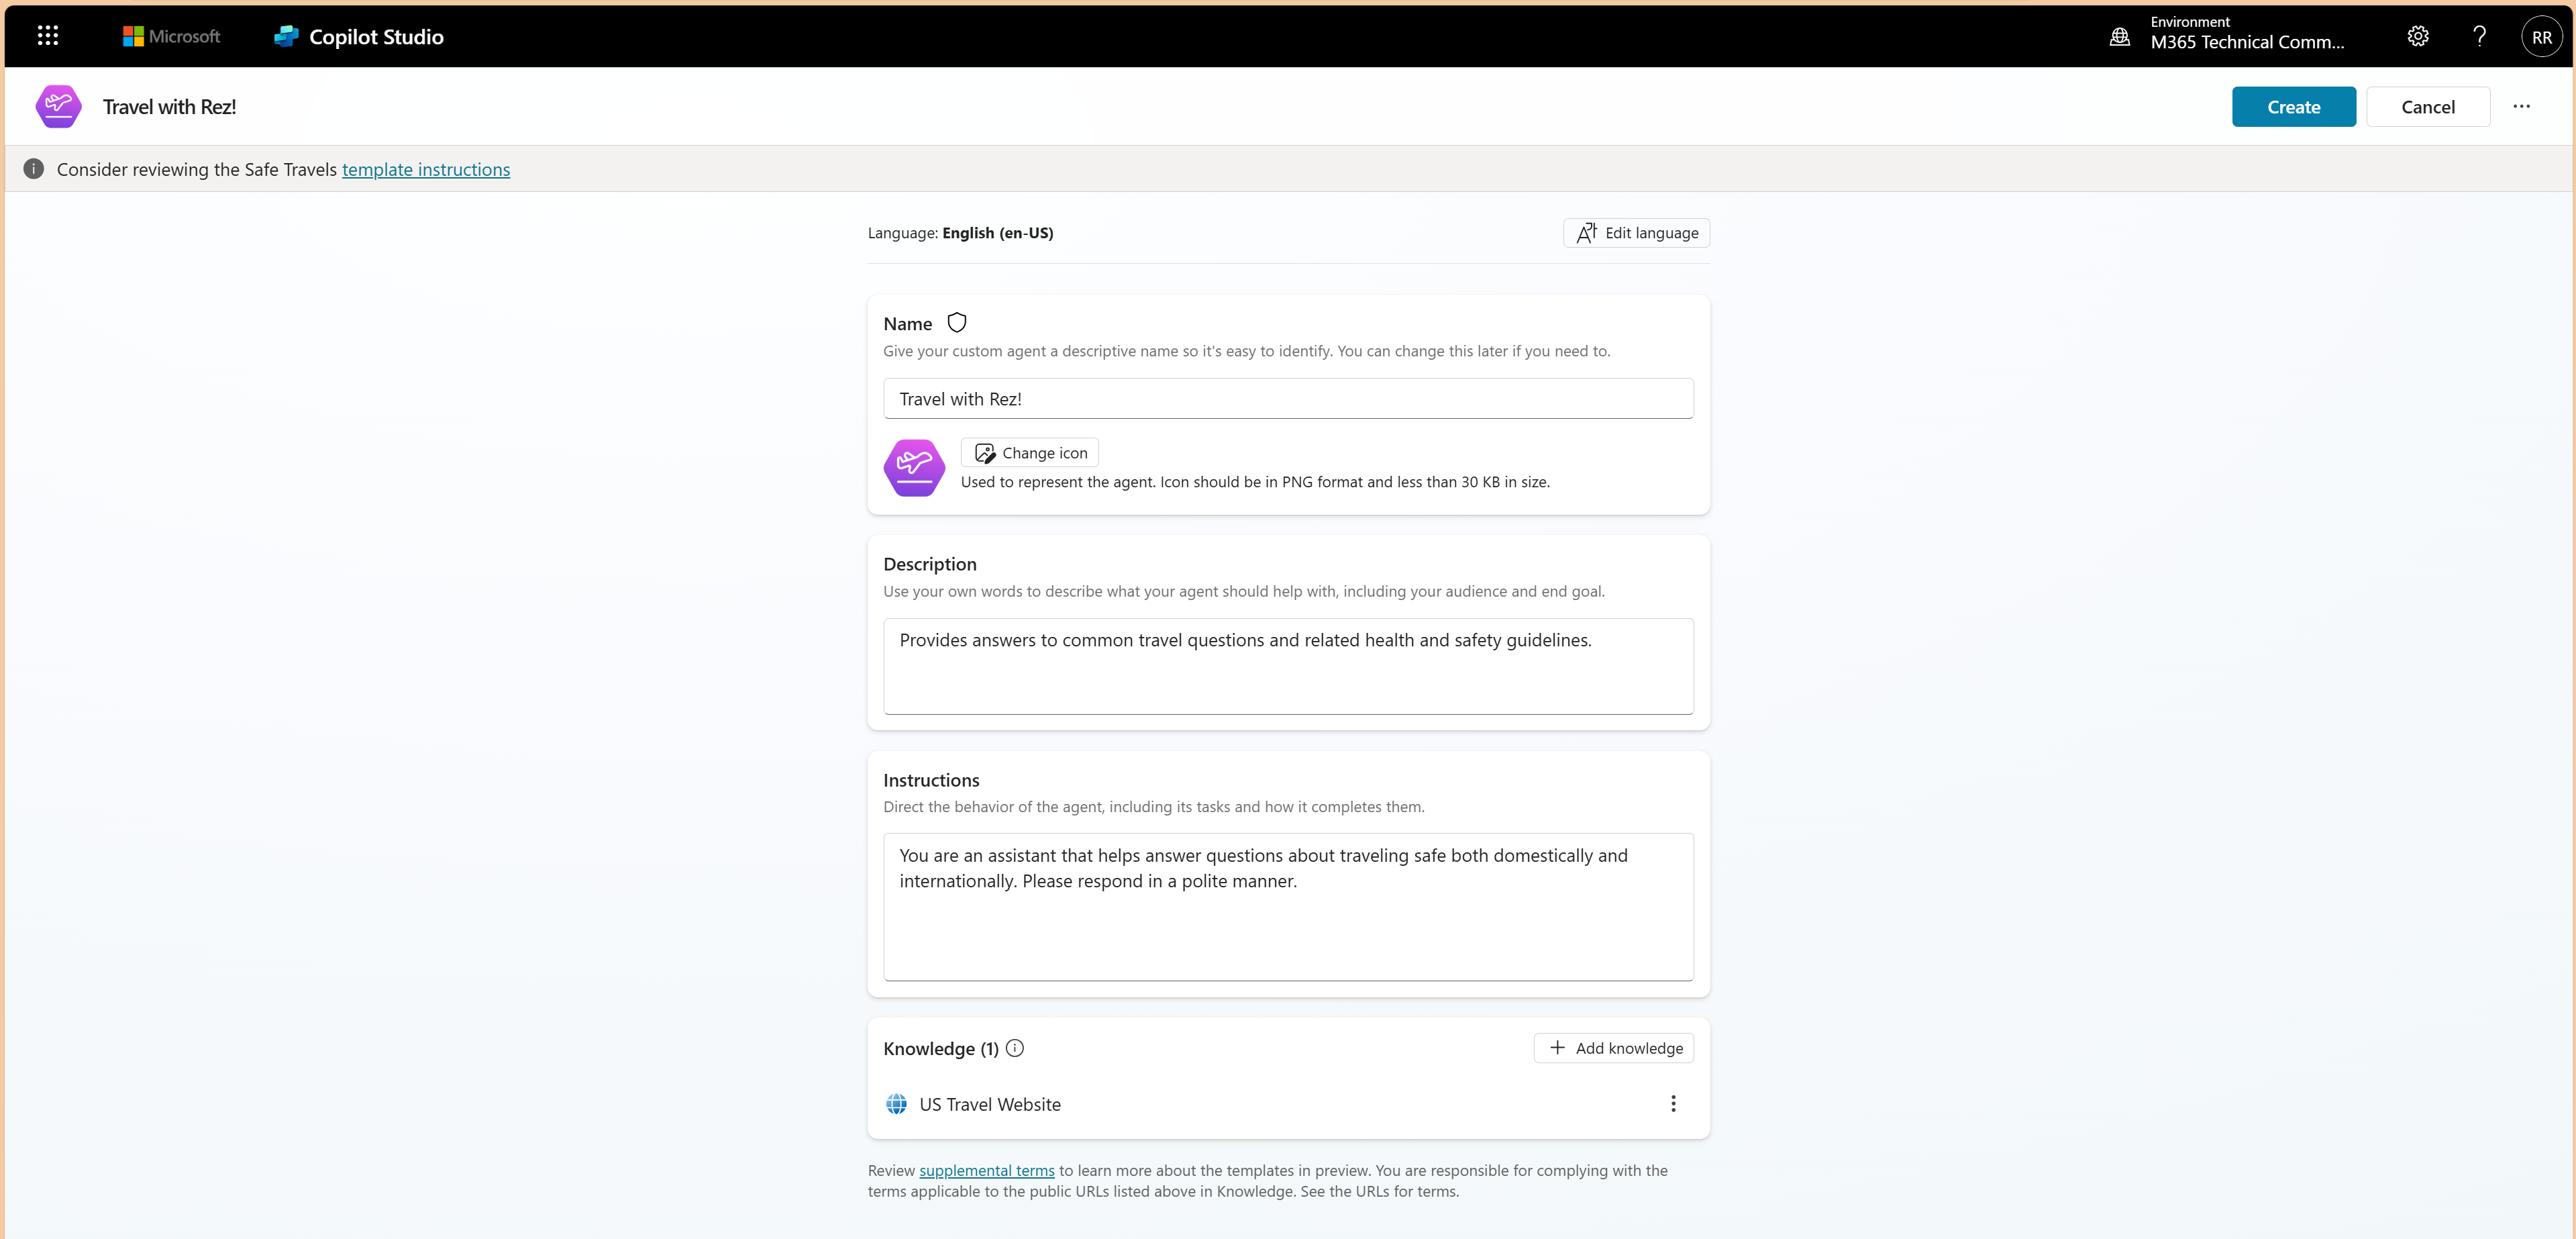
3. In the next page, provide the following information:
- Name: Provide a name of this bot. For this case, the name of the agent is “Travel with Rez!”
- Descriptions: Microsoft will give a default description for the Safe Travel agent. You can edit it if you want.
- Instructions: Like descriptions, instructions will be provided by Microsoft as well.
- Knowledge: This is the important part here. By default, Microsoft will add the website of State Government (https://travel.state.gov/content/travel.html), if you want to add the knowledge of your country or if you want to take information from another website, you can delete this by clicking three dots or you can add multiple knowledge by clicking “Add knowledge” option.
4. Click on “Create” from the top right option to create this bot.
5. On the next step, you can see a page like following:

6. Let me explain this page:
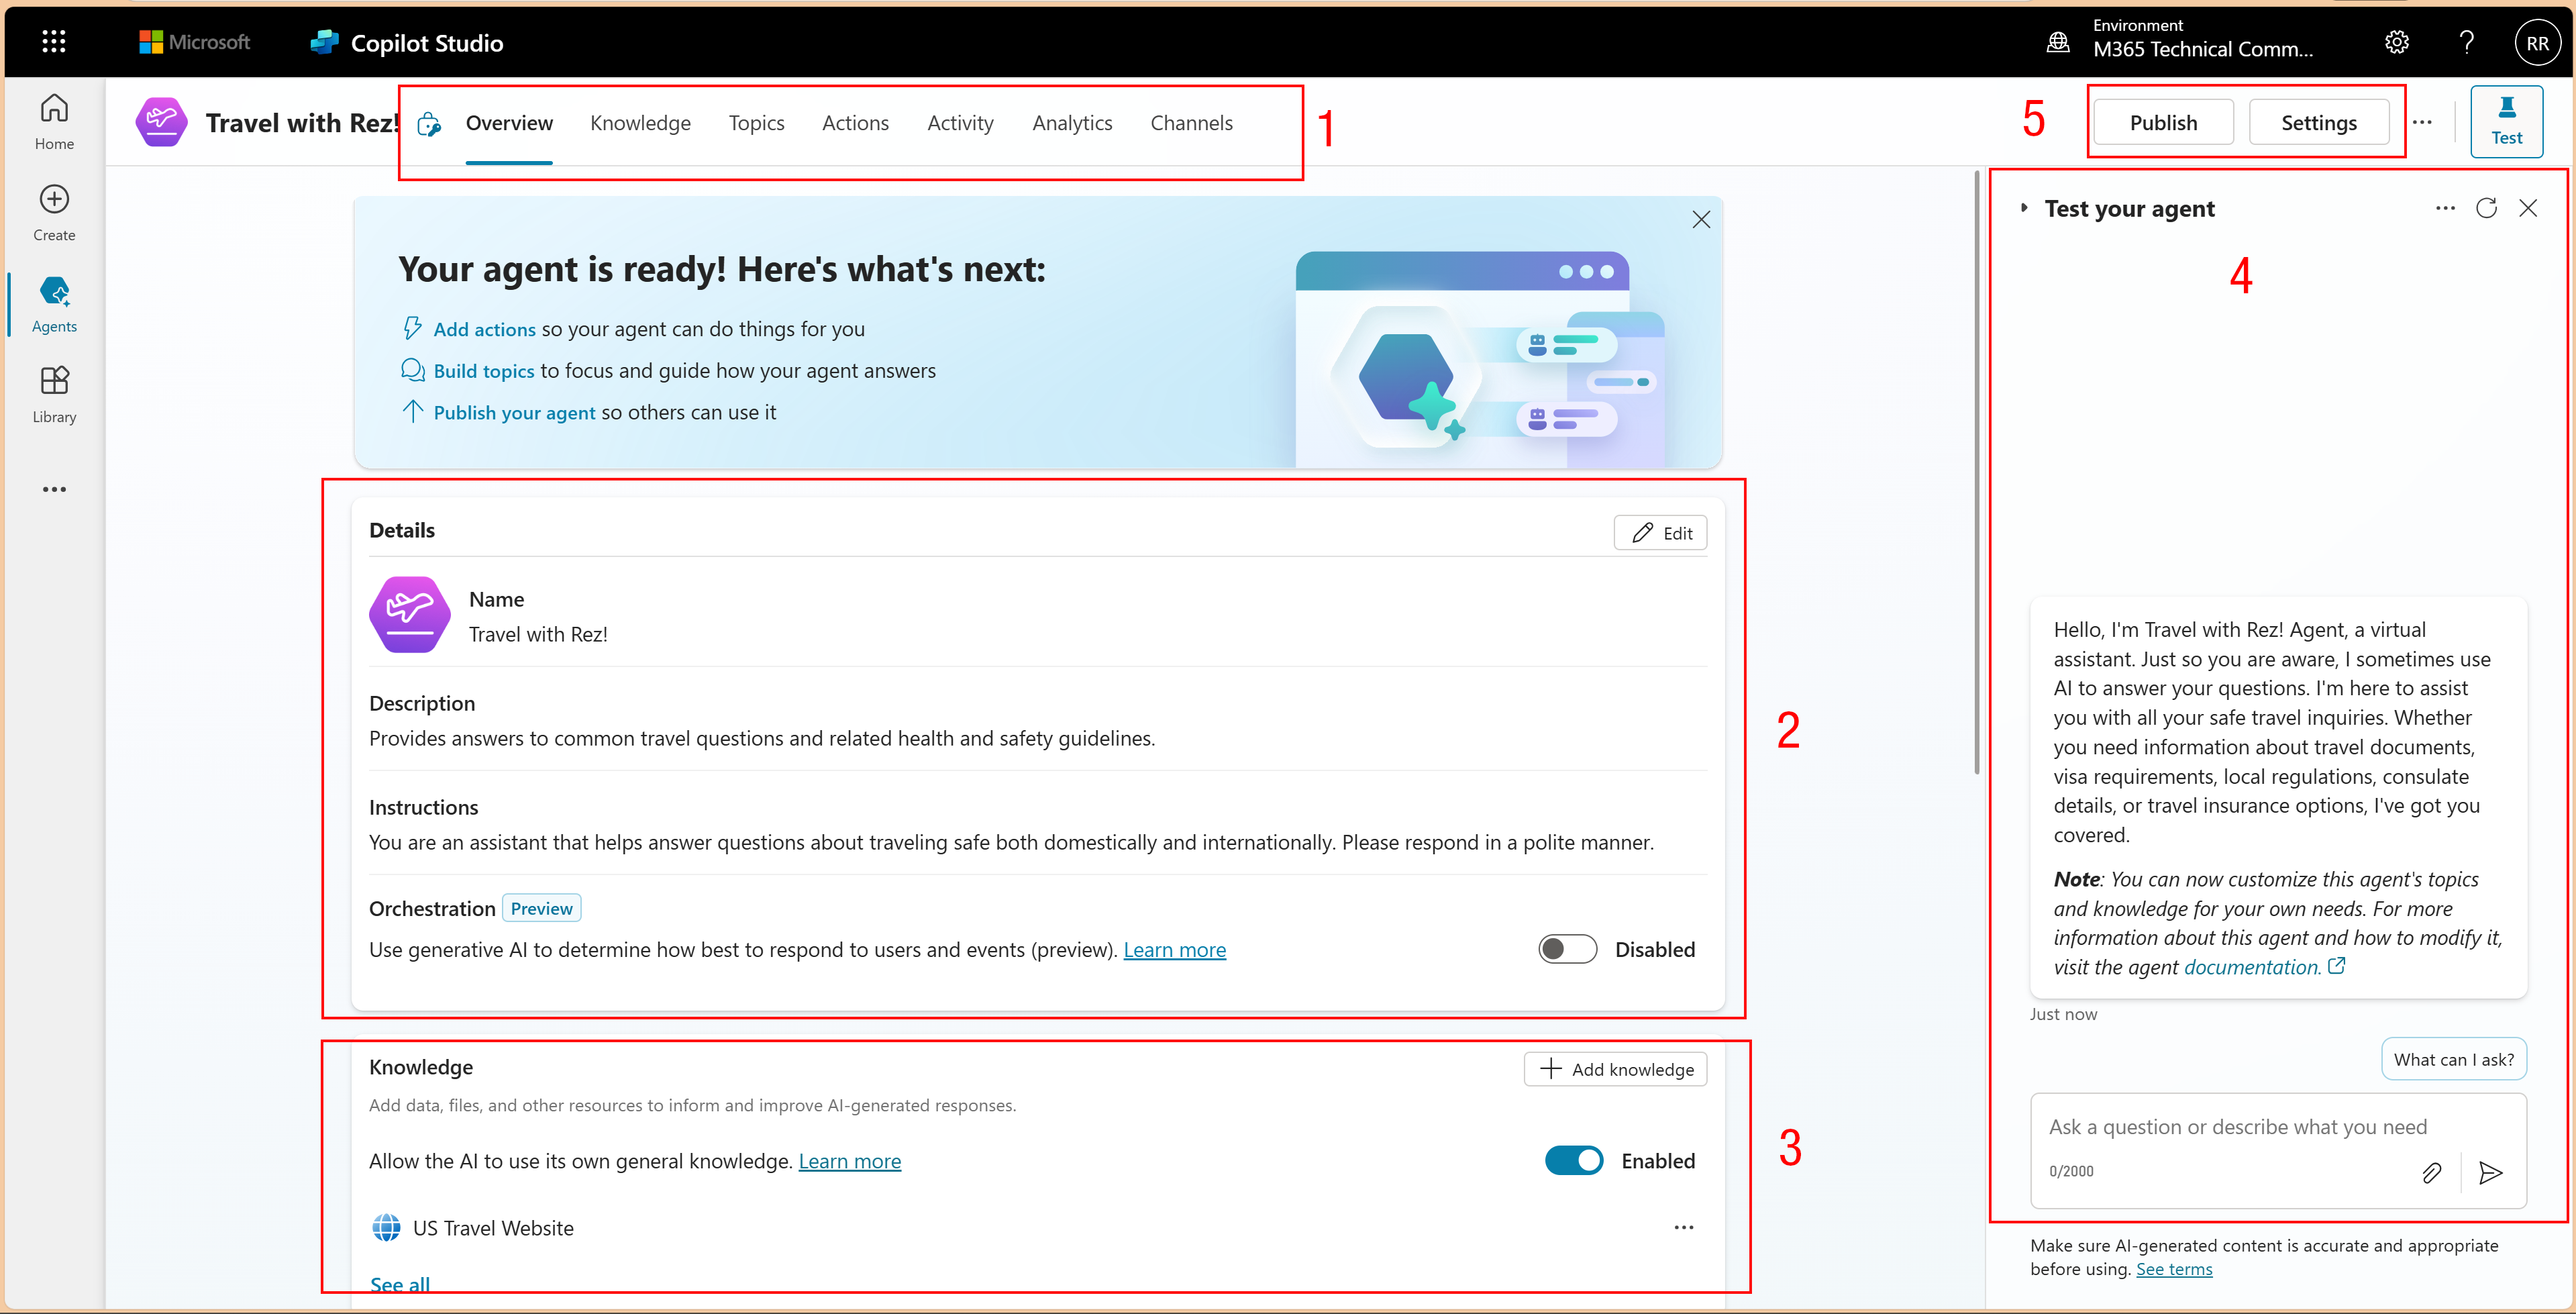
I divided this page in 5 parts.
1: In the first part, we can see 7 optoins.
- Overview: This is the overview page of this bot
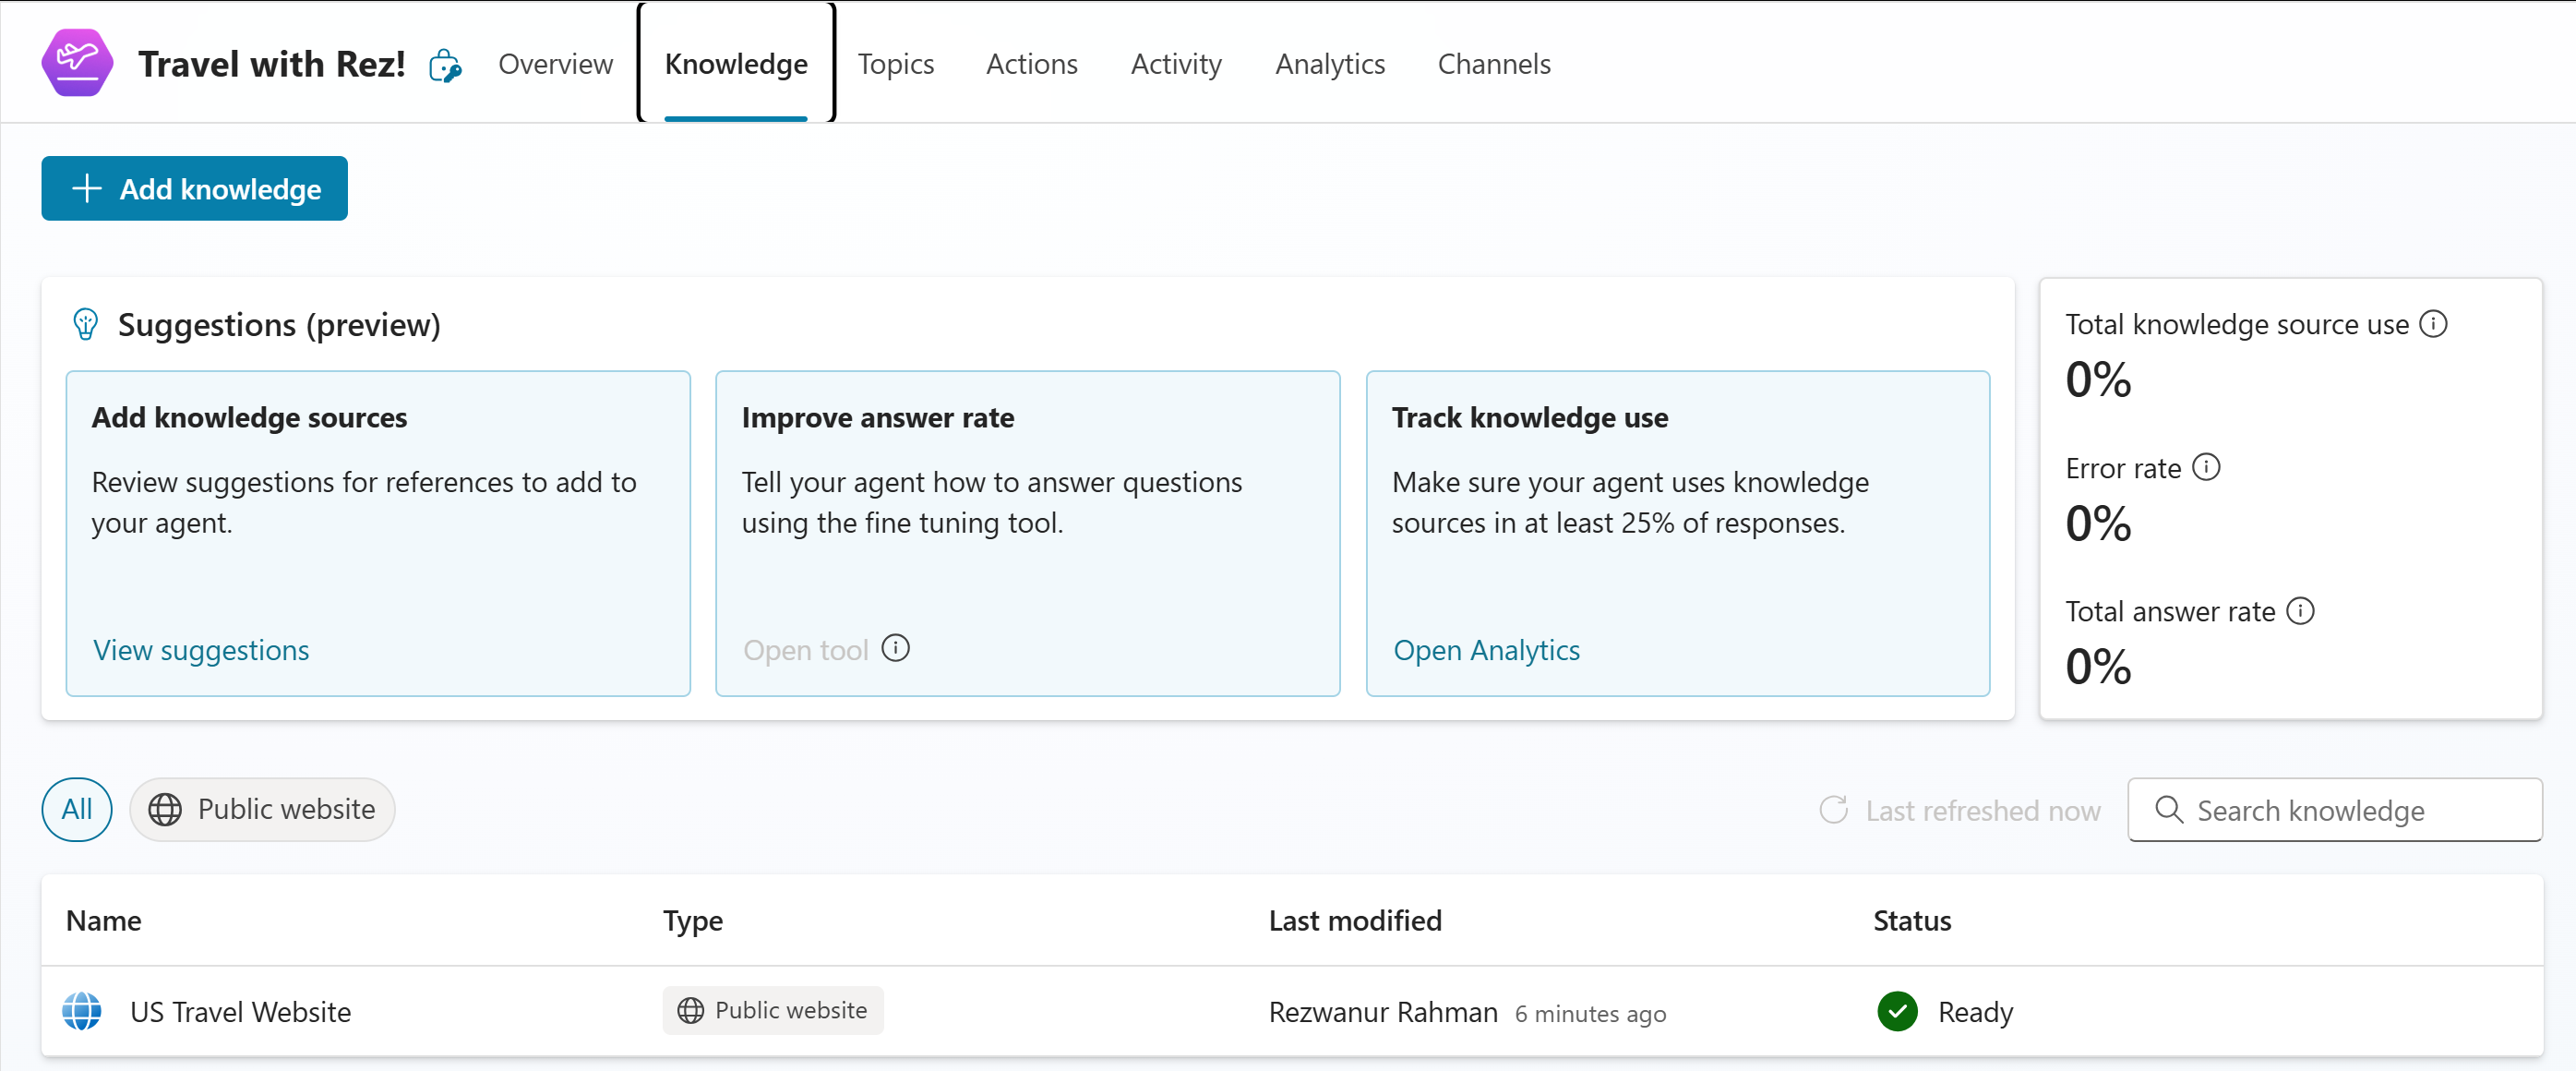
- Knowledge: In the knowledge page, you can add additional knowledge in this bot, also you can get the AI based suggestion for this bot, and also you can see the statistical data of the available knowledge.
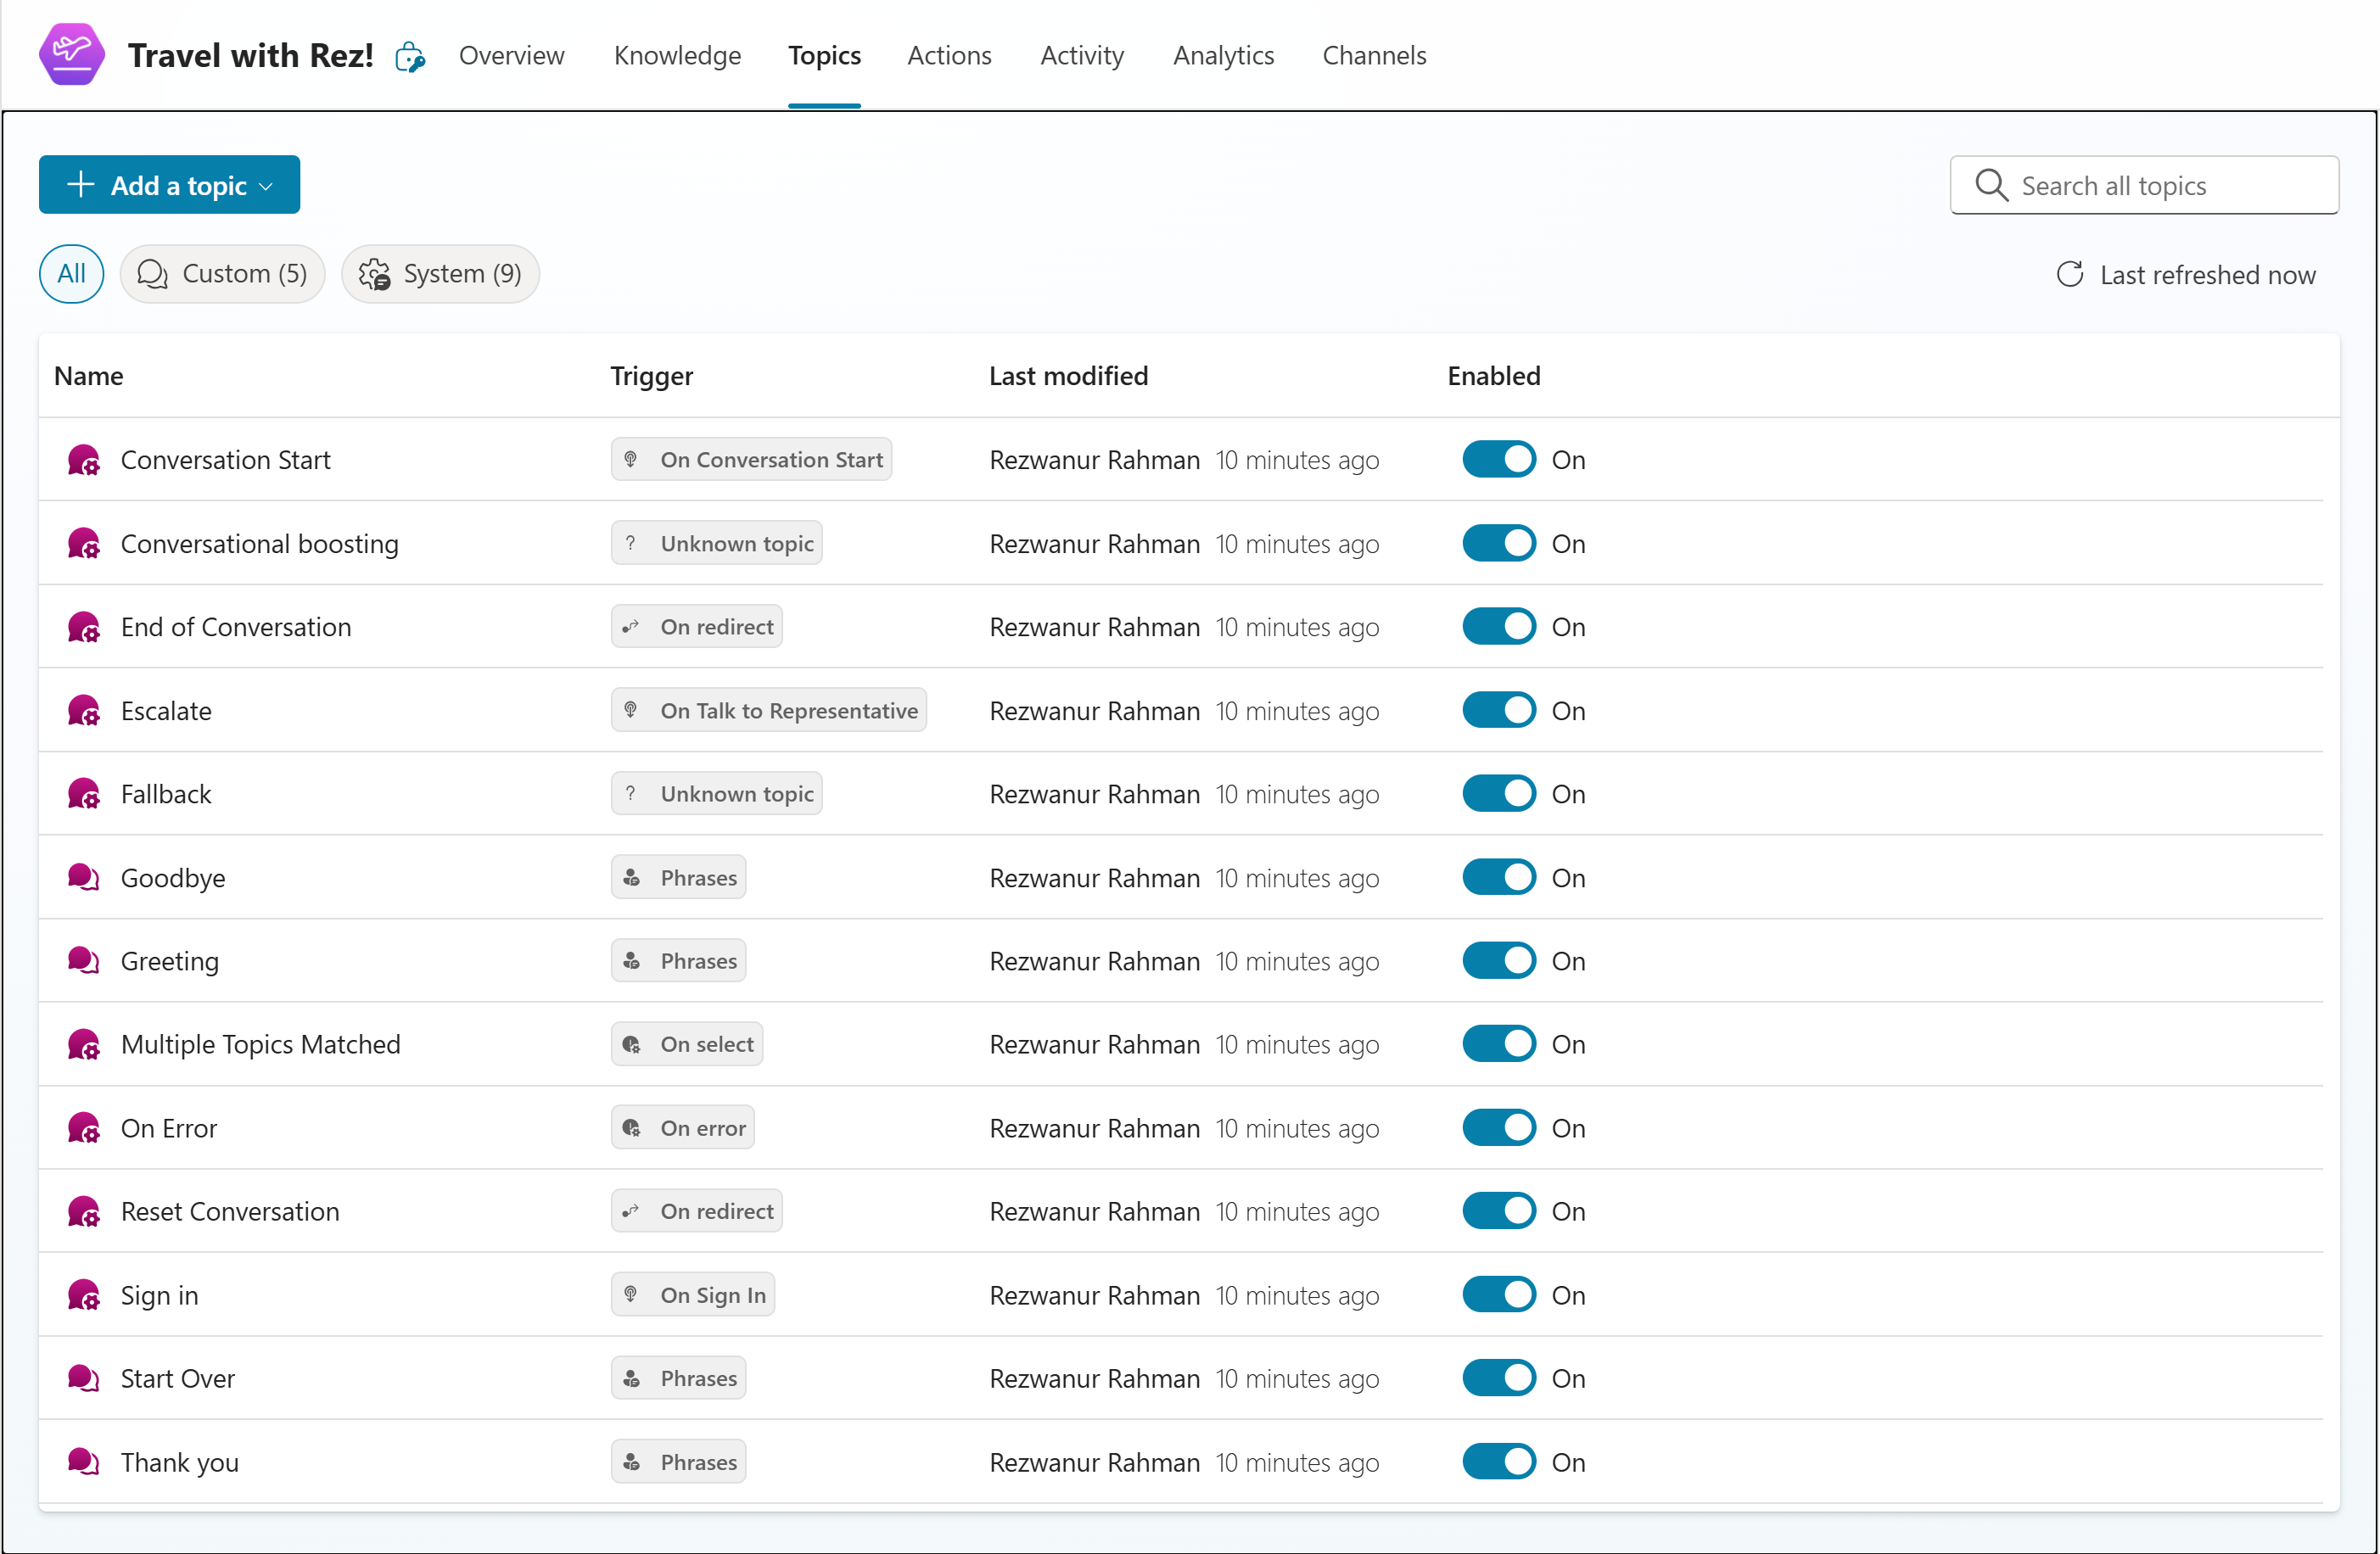
- Topics: Topics are the core building blocks of an agent. Topics can be seen as the agent competencies: they define how a conversation dialog plays out. Topics are discrete conversation paths that, when used together, allow for users to have a conversation that feels natural and flows appropriately.
- Actions: Actions are used to extend the capabilities of your agent, allowing it to respond to users automatically or through explicit calls within a topic. Actions can be based on various core types, including prebuilt connector actions, custom connector actions, Power Automate cloud flows, AI Builder prompts, Bot Framework skills, and REST API connections.

- Activity: You can find the activities of the bot in Activity option.
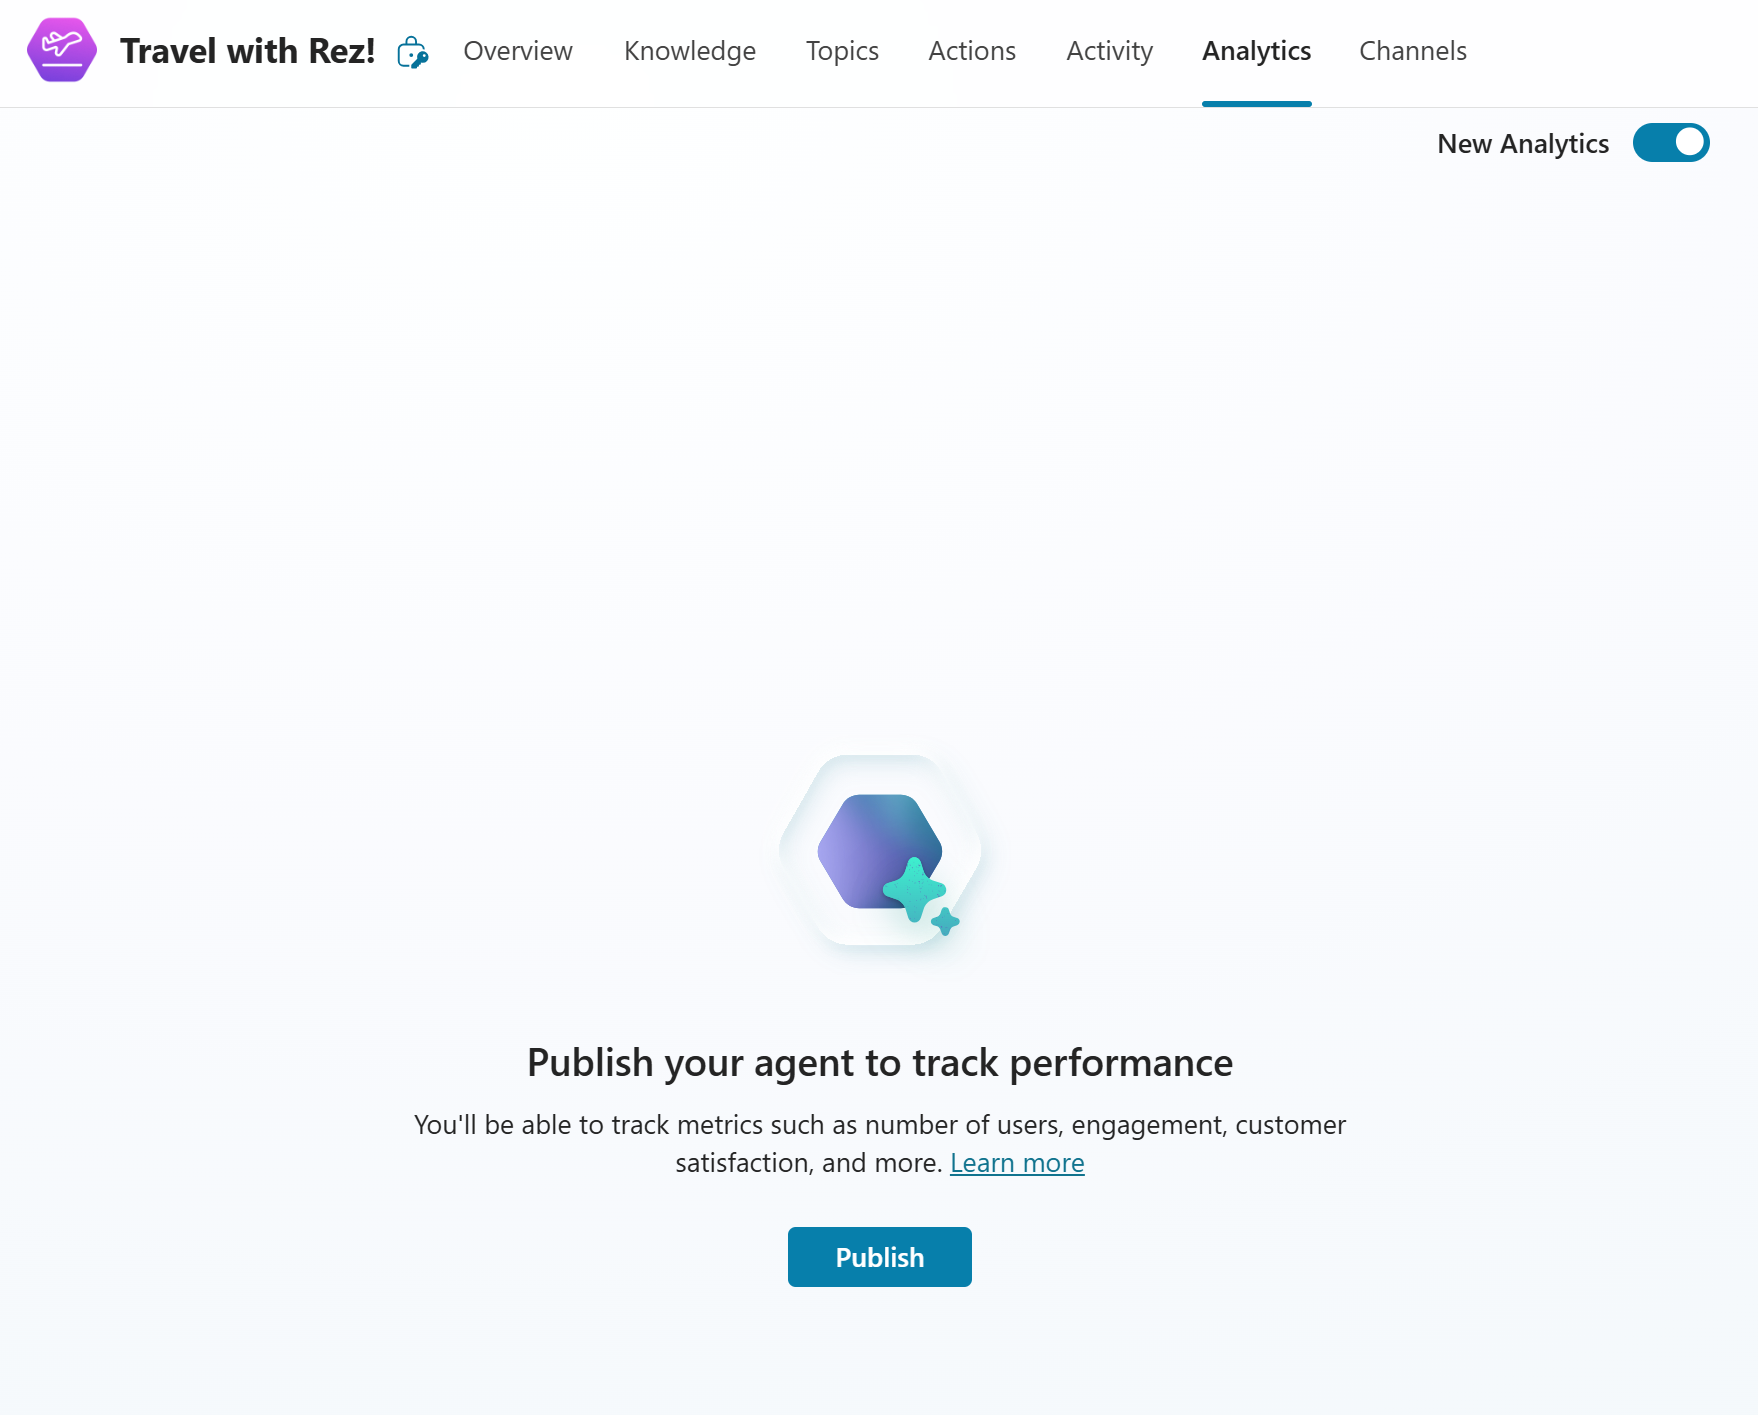
- Analytics: You can see the analytical information in analytics option. But before that, we need to publish the bot.
- Channels: You can choose the channel where you want to publish the bot.

2: Details: Here you can change the name of the bot, descriptions or instructions.
3: Knowledge: You can add the knowledge here as well.
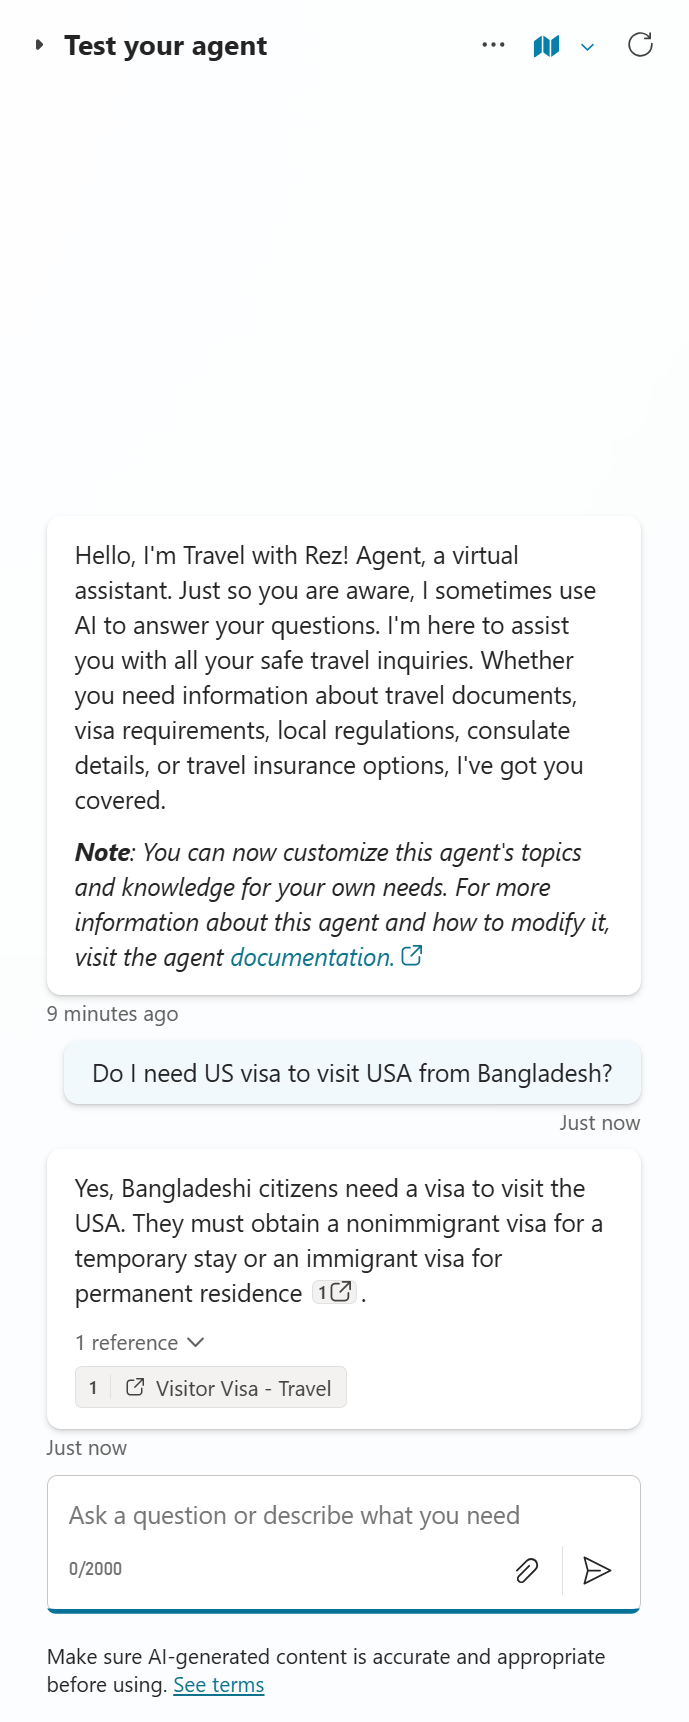
4: Test your agent: You can test the bot here before publishing it. Here is an example:
5: In the part 5, you will have the following options:
- Publish: You can publish the bot from here.
- Settings: In the settings option, you can change the agent details, generative AI settings, security, skills, voice, language and other settings.

We will now publish the bot that will be available across all the channels this is connected to. After clicking on Publish button, you will get the info message as follows: 
In this blog, I will show you how to publish bot in Microsoft Teams. For this, Go to Channels and select Microsoft Teams as follows: 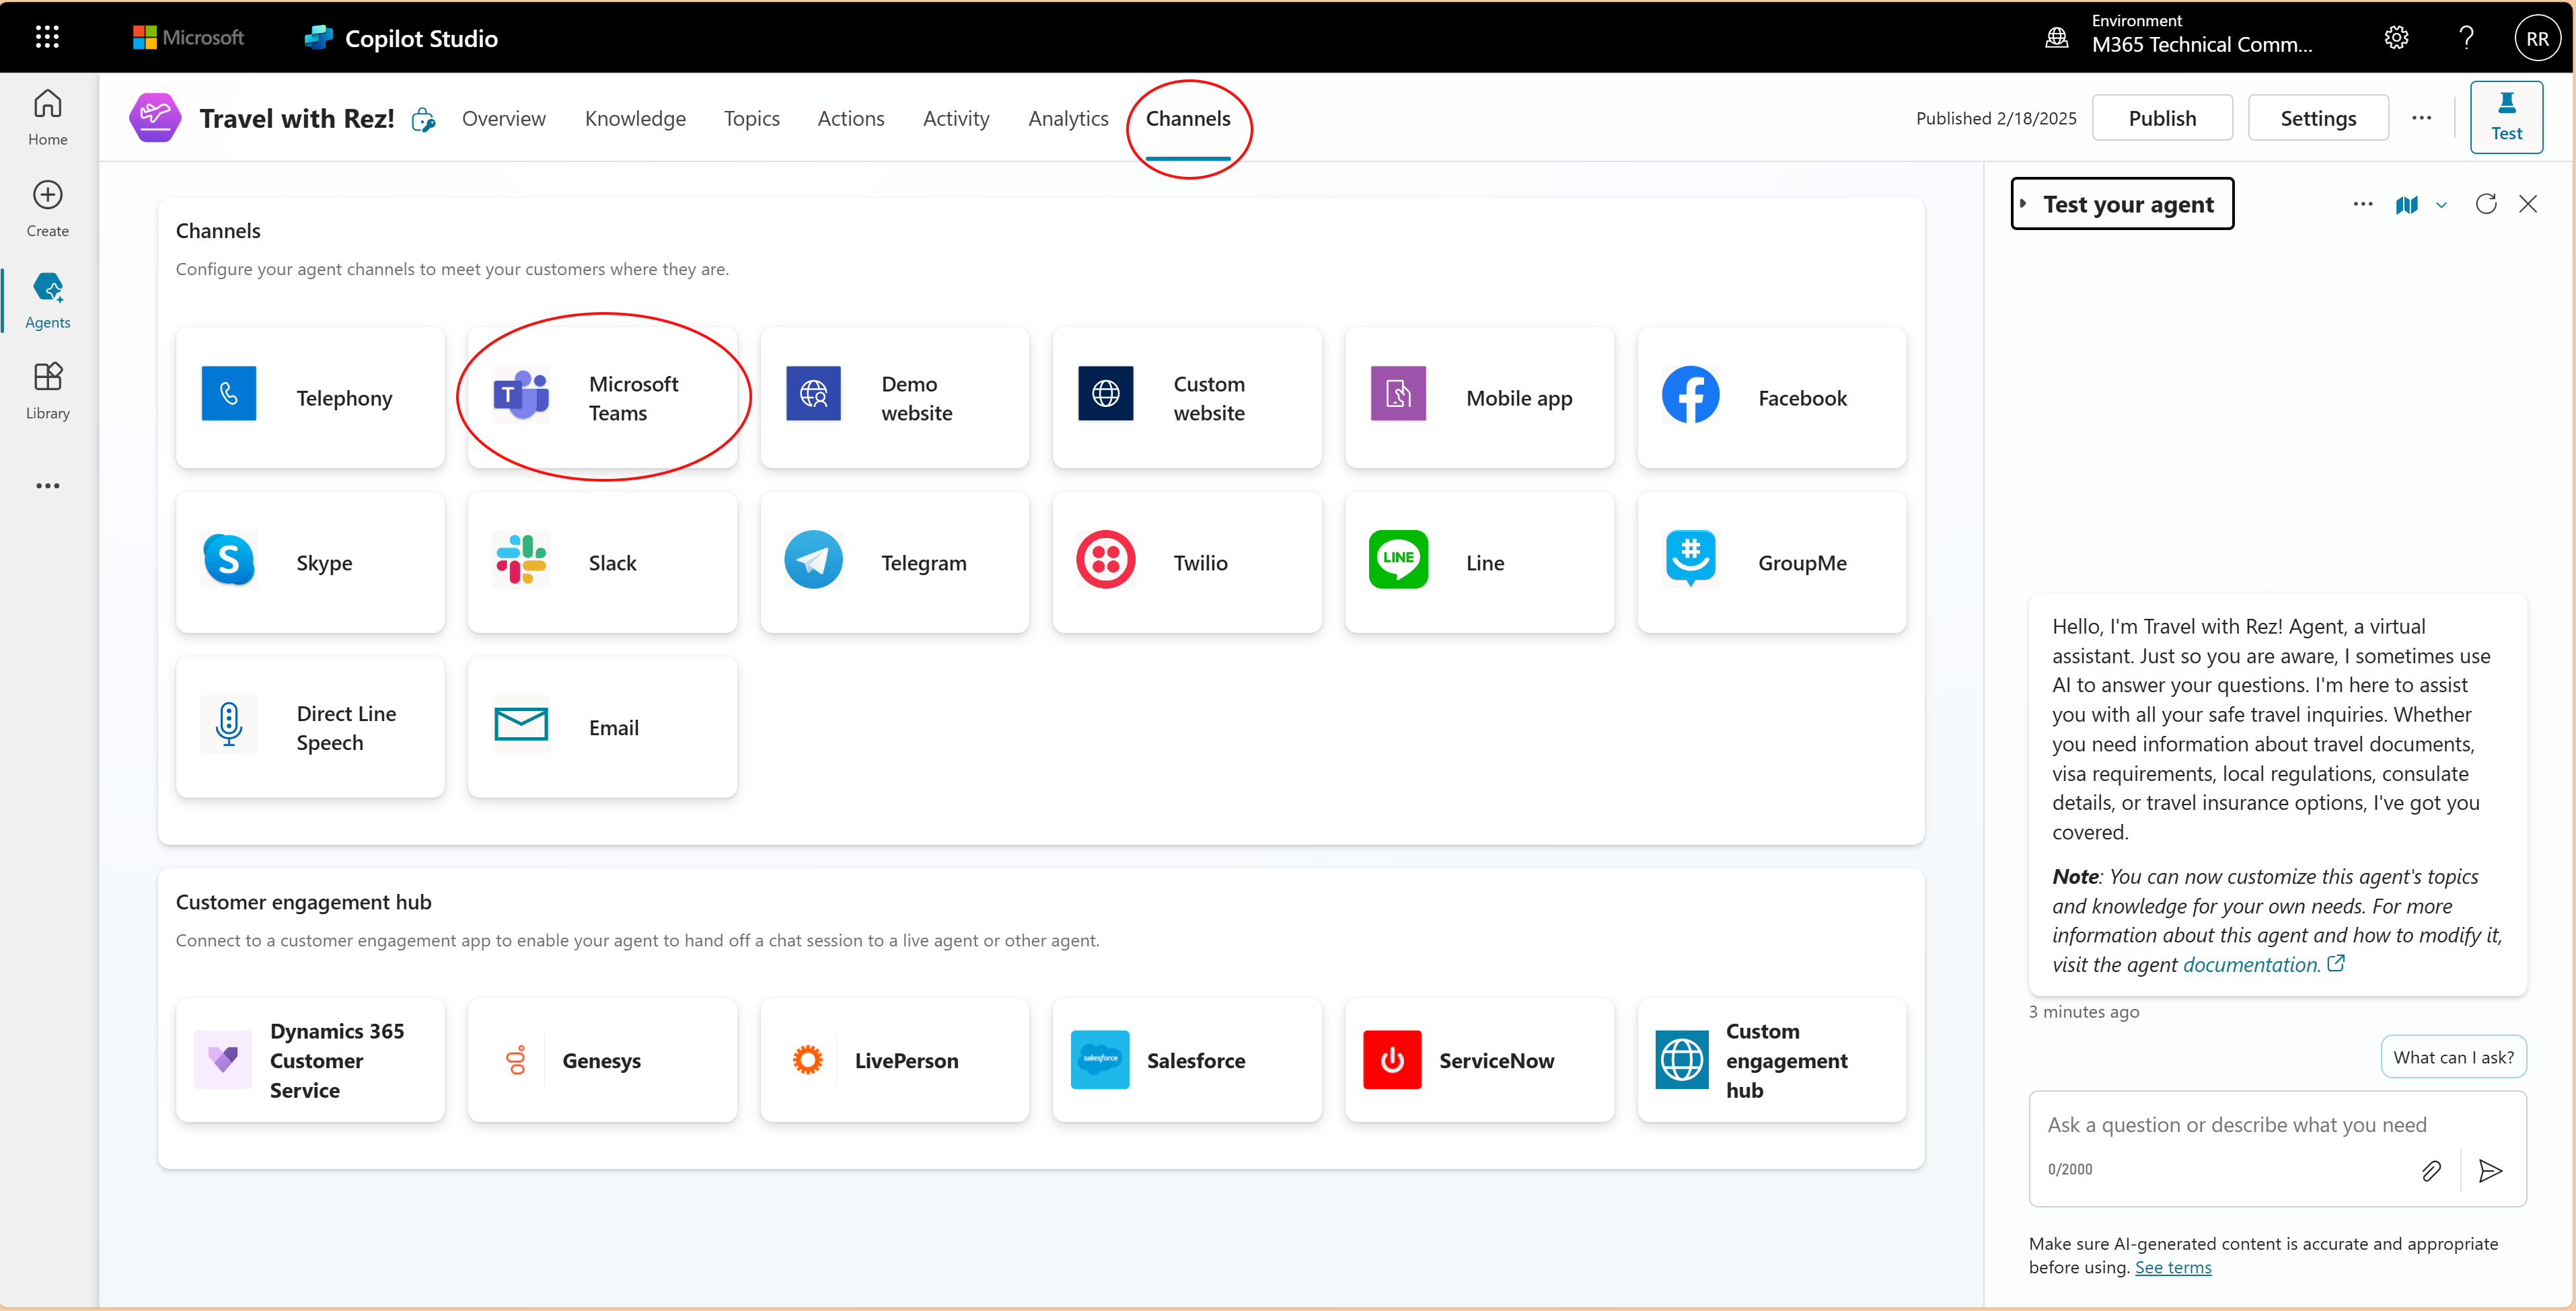
After clicking on Microsoft Teams, it will show the bot preview as follows:
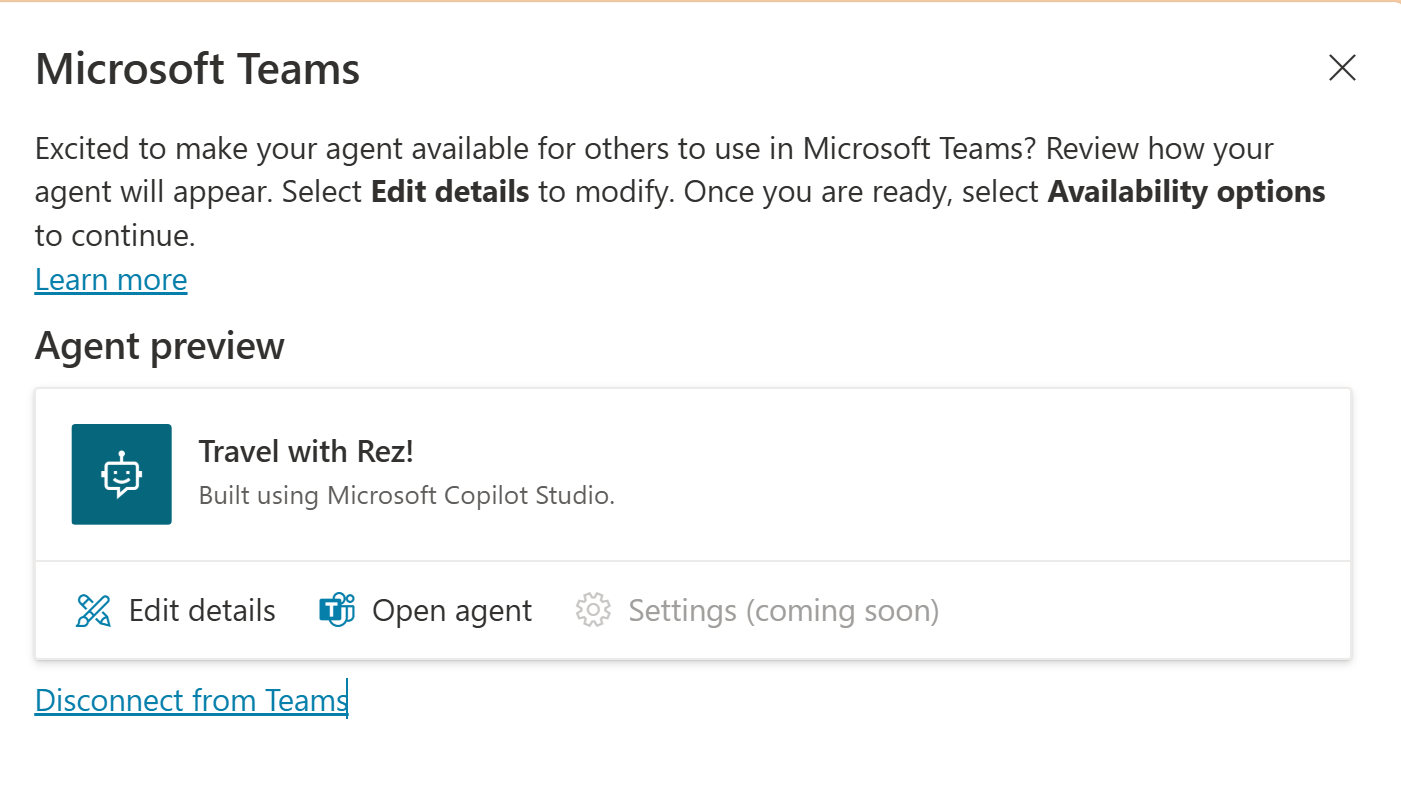
If you click on “Open agent”, the browser will redirect to the Teams app and show you the app to add. 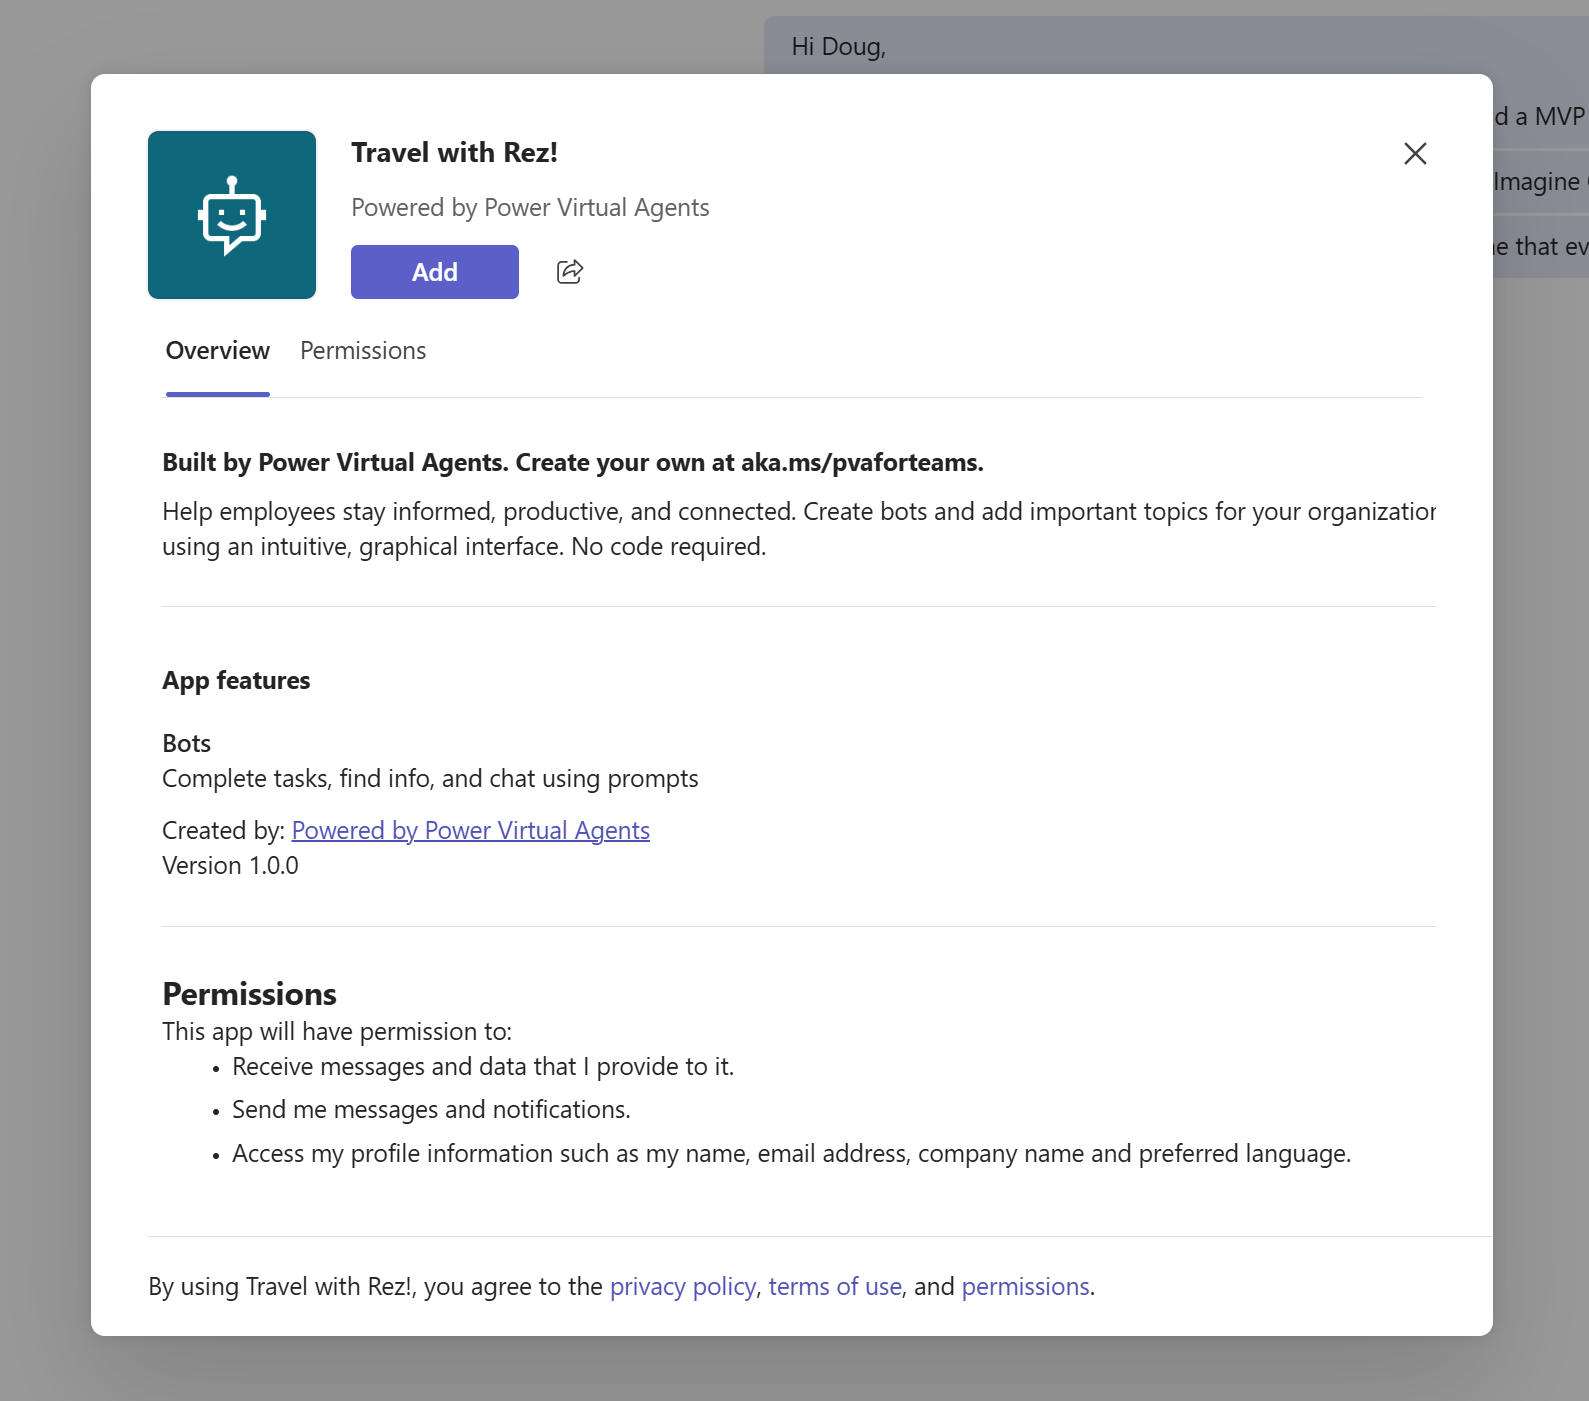
If you click on Add, you can use the app inside your teams app.

To verify this bot, we will now make a conversation inside Teams app.

I hope it will help you and your colleagues to get updated travel information.
In the next blog, I will show you how to add, edit and remove custom actions and triggers. Bye for now!

Leave a Reply